First off... Shopping~!
I need to get the ingredient for this creation...and after a couple of explaining myself to the store owner... i finally hit the jackpot at the local artfriend...
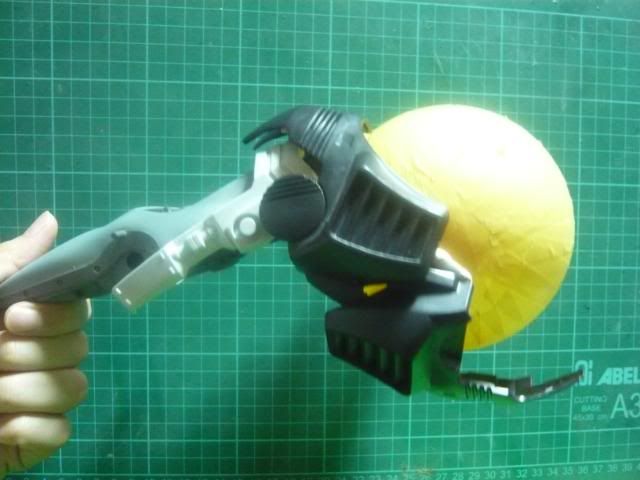
The critical dome for the cockpit turned out to be a Xmas deco ball... :D
And the arms are jewellery metallic beads purchased when my wife went to get her accessories whatsnot...
Next, the silhouette filling...(In order to protect the surface of the Xmas ball, I mummified it X_X)
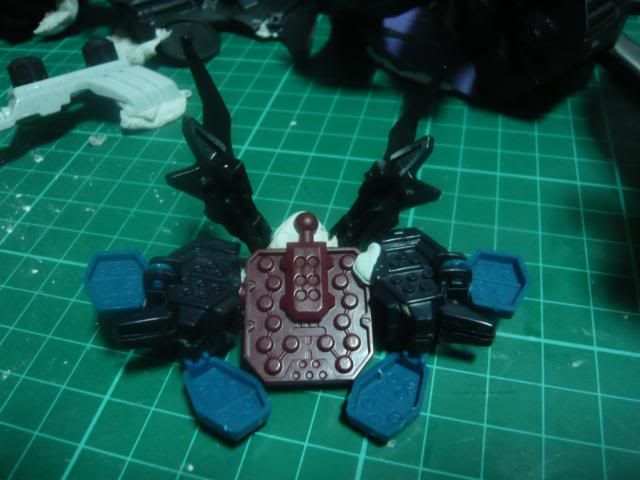
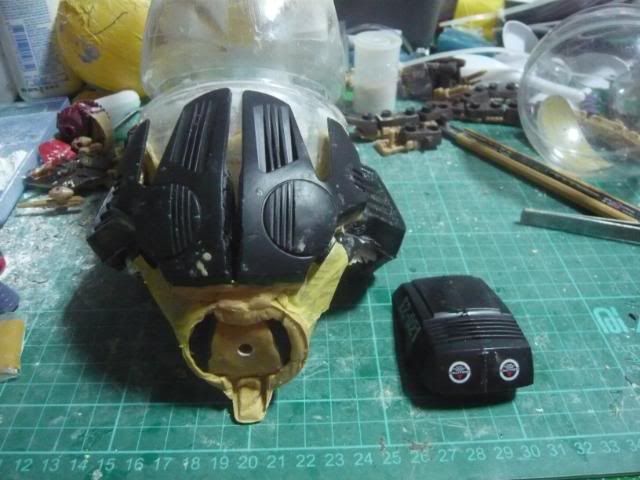
And the cockpit control panel...
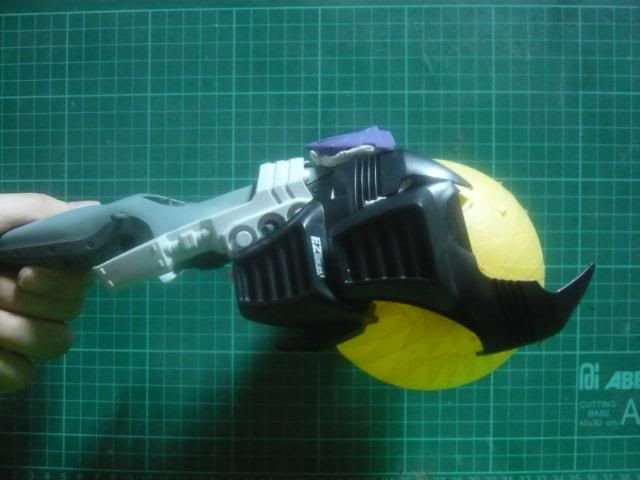
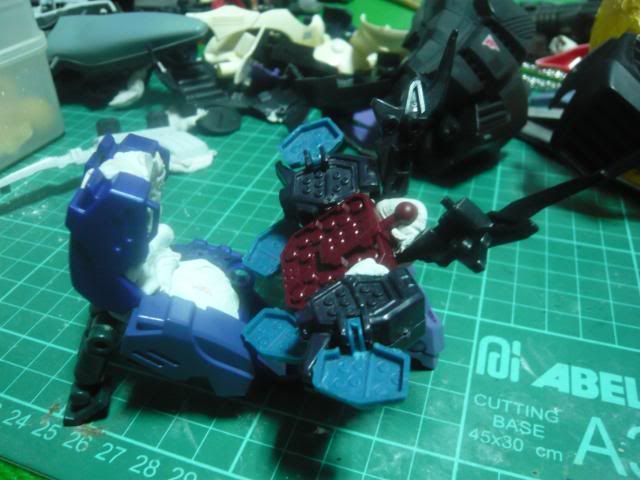
 Deathsaurer's parts are modified to become the "hood" of the squid.
With the Singaporean designer seat
Adding it all together
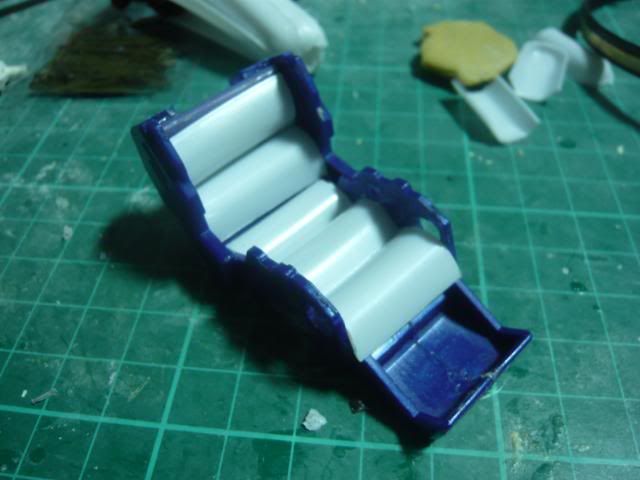
 Yes, the cushion are actually broken plastic spoons.
http://www.blogger.com/img/blank.gif
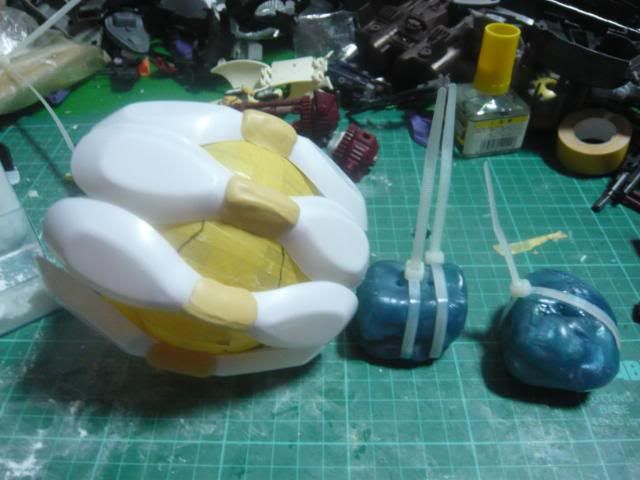
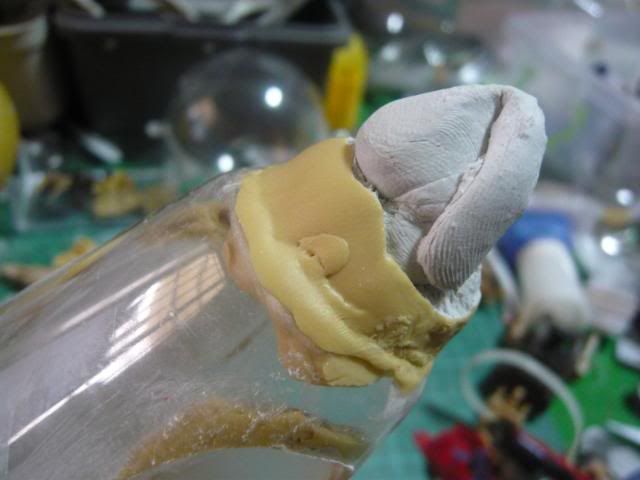
Seeing how transparent the dome can be, the back wall must be well-detailed as well...again, plastic spoons to the rescue :D
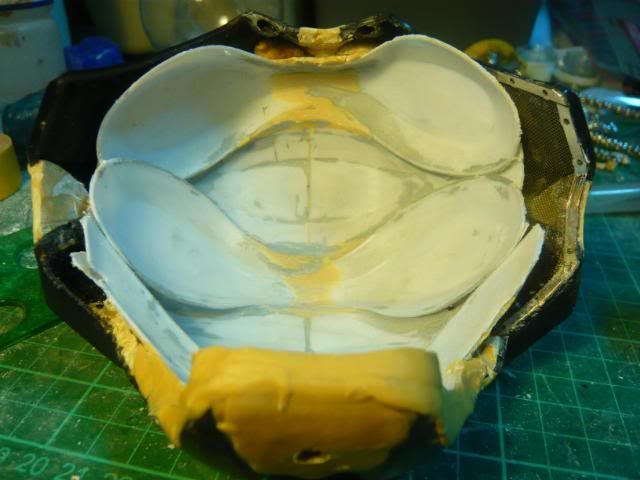
 This is a tough act as the padded wall must conform to the dome shape...Blue-tac is your best friend here ;)
Once the positioning is achieve, super glue and putty is generously applied :D
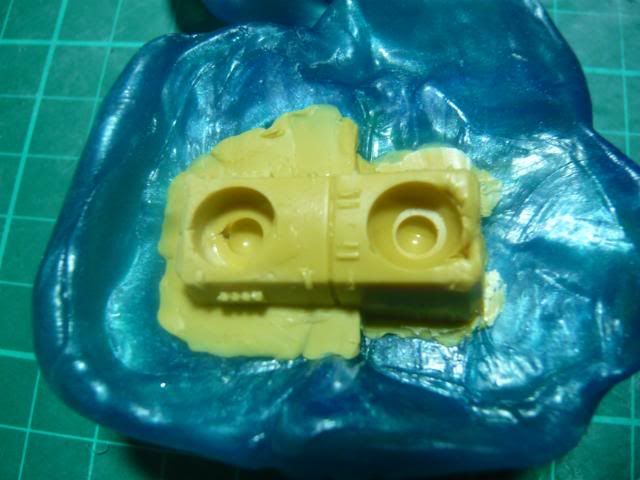
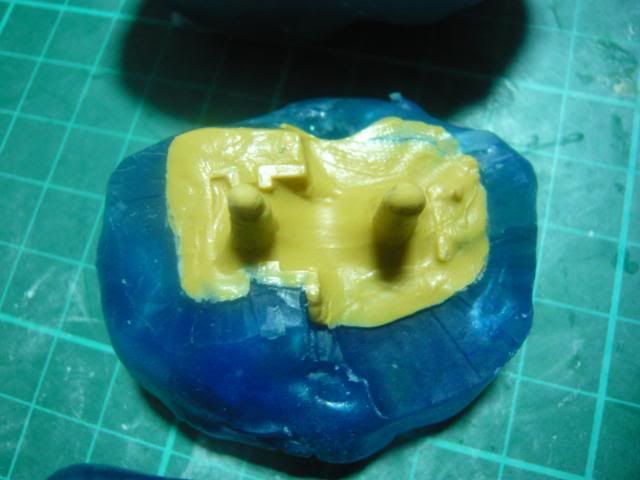
Seen next to the padded dome on the previous picture are the dumpling for this Duanwu Festival hehee... they are actually casting mold for the tentacles.
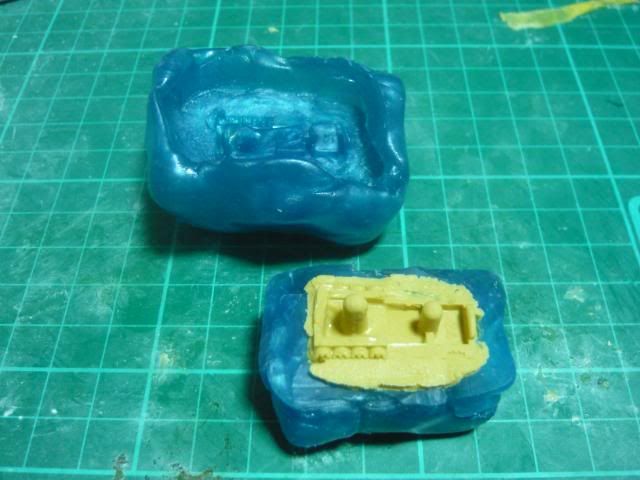
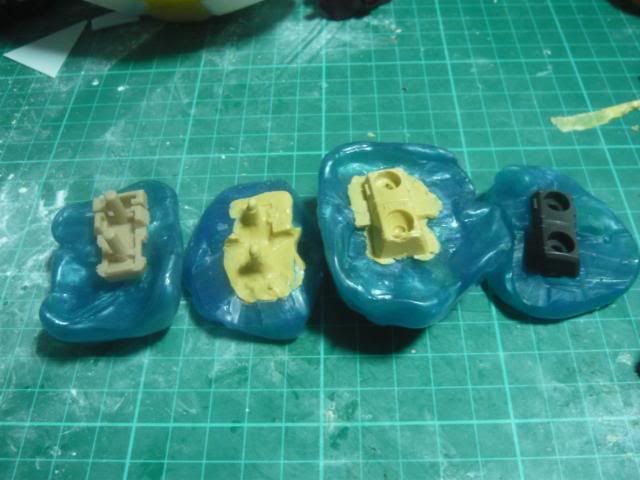
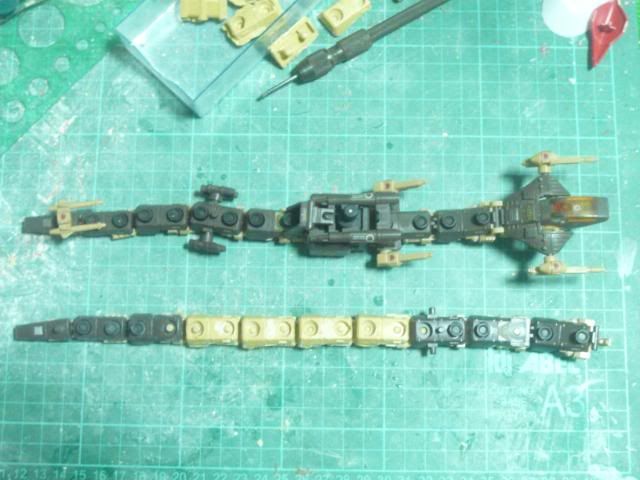
And here's the tentacles
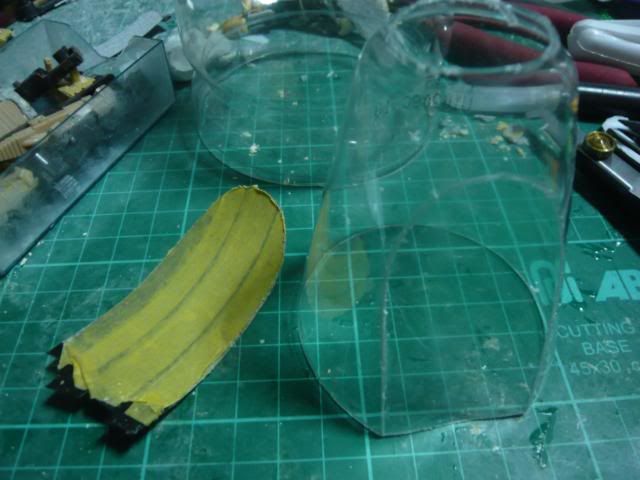
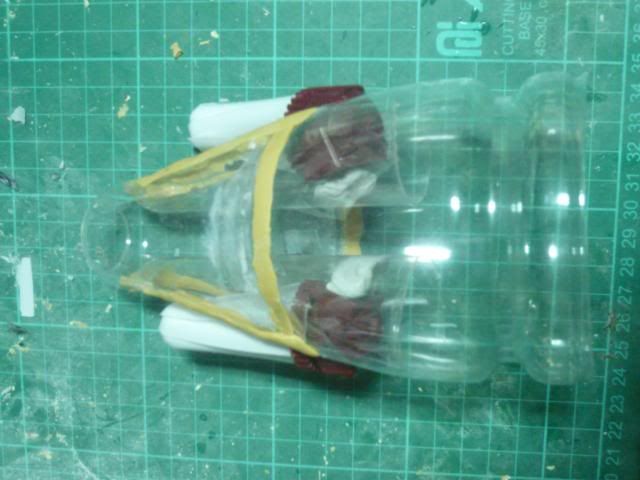
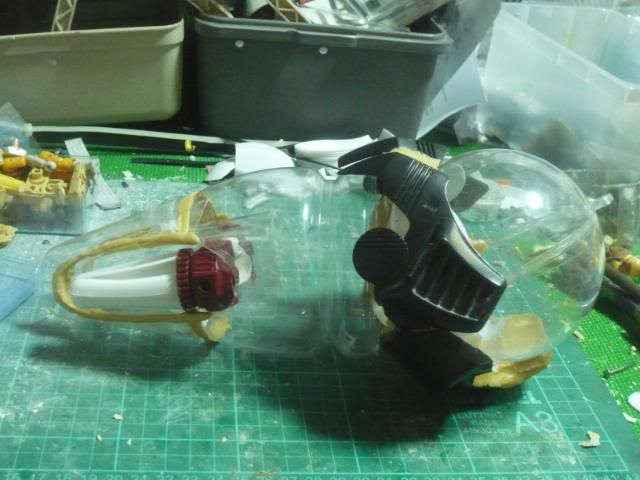
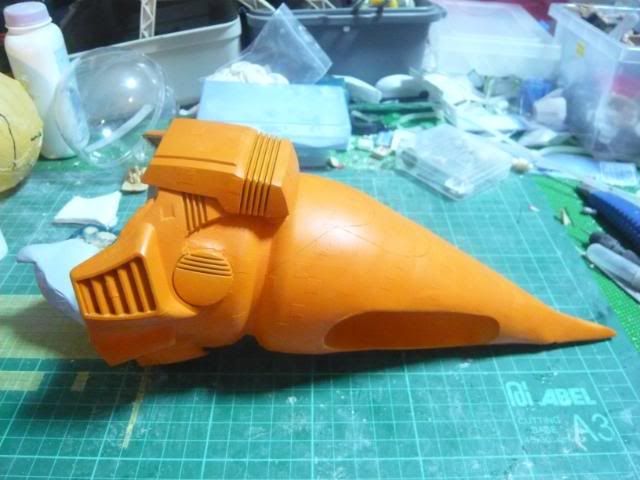
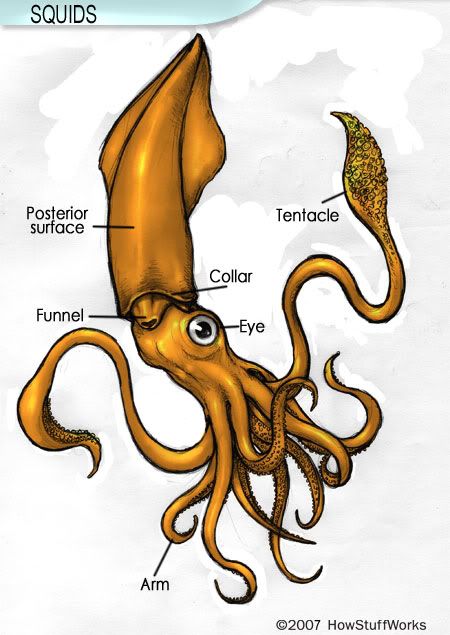
Next is the mantle which is the main body of the squid...
Recycle Pokka plastic bottle and A&W plastic bottle was used to form the shape.
I added two inset on each side of the mantle for the turbine placement.
These were also make with recycled plastic wine glass :D
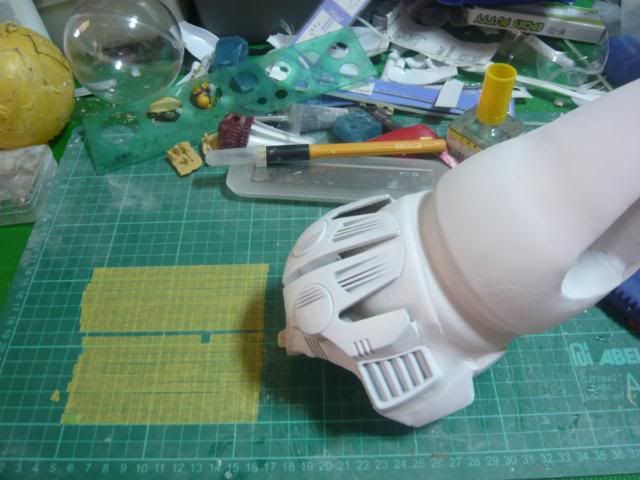
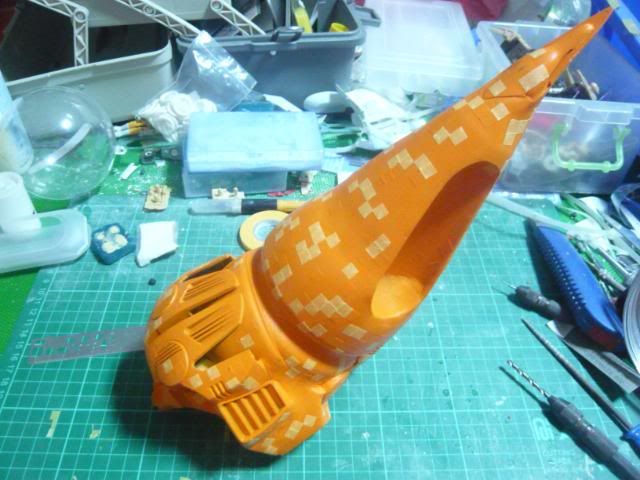
 This picture shows how the inset was "traced" out using embossing tape and the panel line scriber.
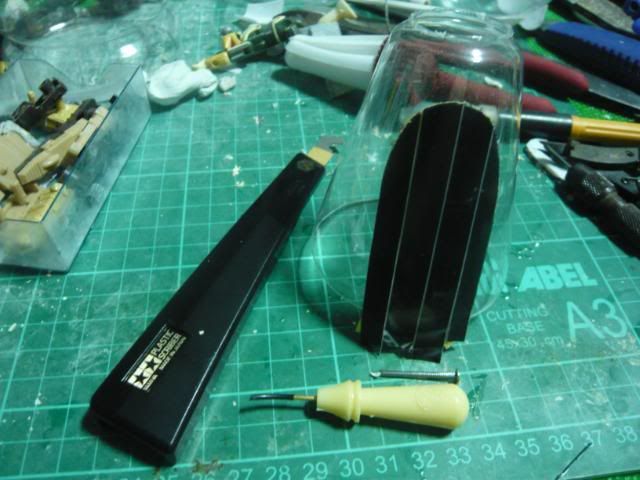
 Thank goodness for the scriber, as the plastic wine glass was very brittle... using the scriber to slowly engrave the plastic till it can be broken off in the intended direction really make it easy...and without saw dust all over the place is another plus point.
Once that's done, the turbines are next...
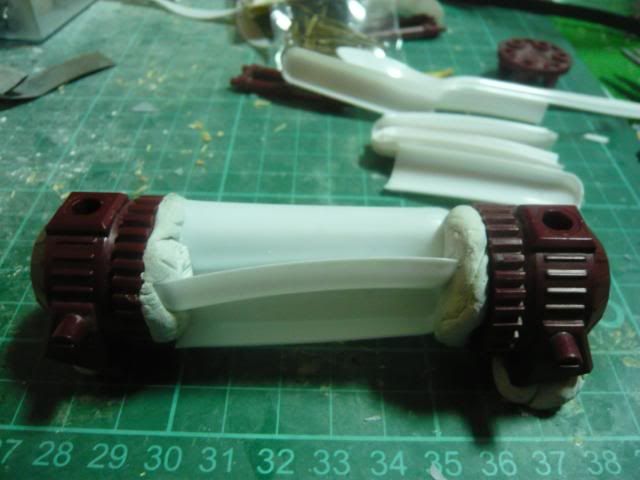 Make with plastic spoons and the BZ-017 Laser storm's gatling body.
Posing with the rest of the mantle :)
At this stage, I m tailing behind the competition~
Literally...
 Tail option 1
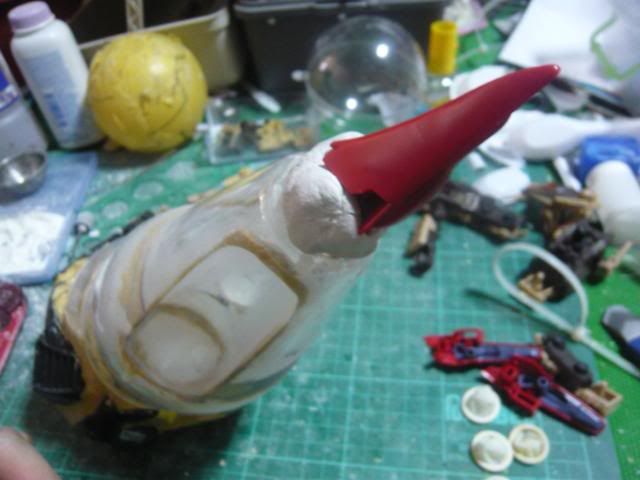 Tail option 2
After deciding on the tail option, i noticed that the putty popped away at the mantle from the plastic.. as the plastic underneath is way softer than the harden putty... 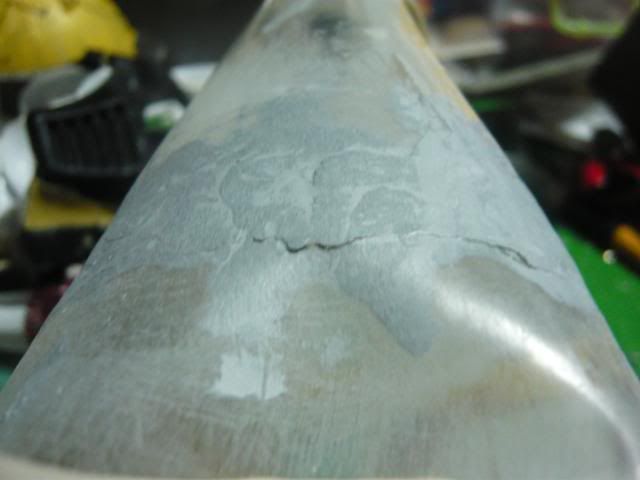
So when implementing tail option 2, i thought up this idea :D
1)Roll the kneaded putty around a rod of blue-tac
2)Insert a stick into the center then rotate and spread the putty around the underside of the hole.
3) Finally gently pull the blue-tac up to make the "spreaded" blue tac press against the wall.
4) Simply pull out the blue-tac when the putty is dried.
Voila, well-supported column for the tail section :D 
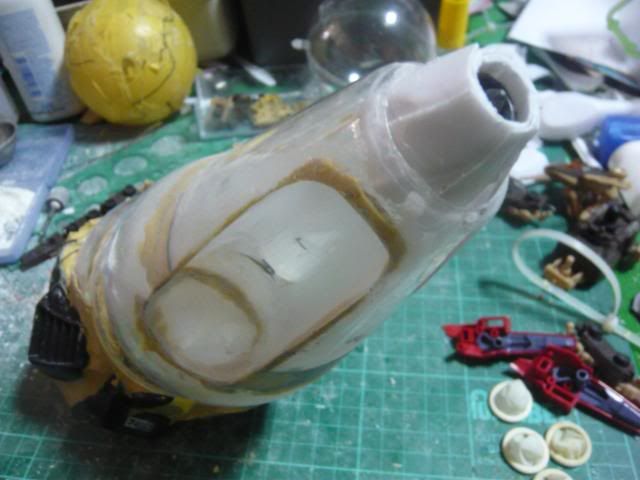
Finally, to join the mantle and the rest of the head together and covered up with another deathsaurer part ;)
 The rectangular part on the right is used as the funnel.
Bring on the paints...
Click here for Part III
 Finally adding the darkest color and peel off all the tapes... O_o)"
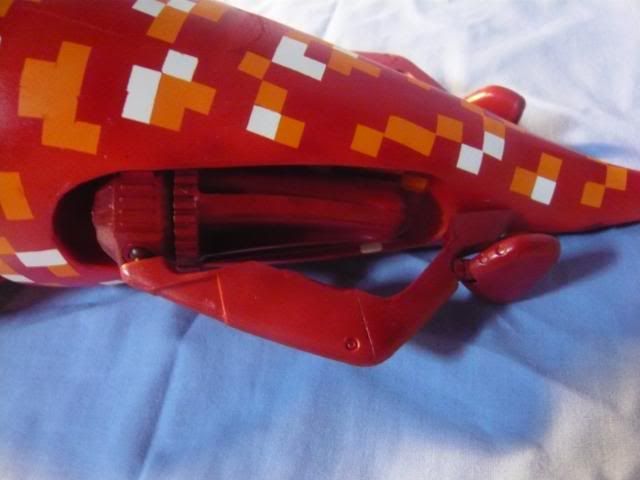