Labels:
Akuma,
Devil,
Paint,
Red,
Zoids,
Zoidspoison,
ZPCC,
赤豪鬼
Posted in
Akuma,
Devil,
Paint,
Red,
Zoids,
Zoidspoison,
ZPCC,
赤豪鬼
Labels:
Akuma,
Construction,
Devil,
Red,
Zoids,
Zoidspoison,
ZPCC,
赤豪鬼
First off... Shopping~!
I need to get the ingredient for this creation...and after a couple of explaining myself to the store owner... i finally hit the jackpot at the local artfriend...
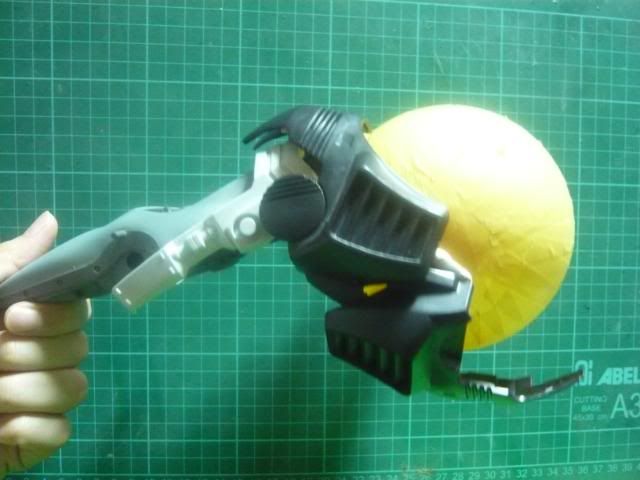
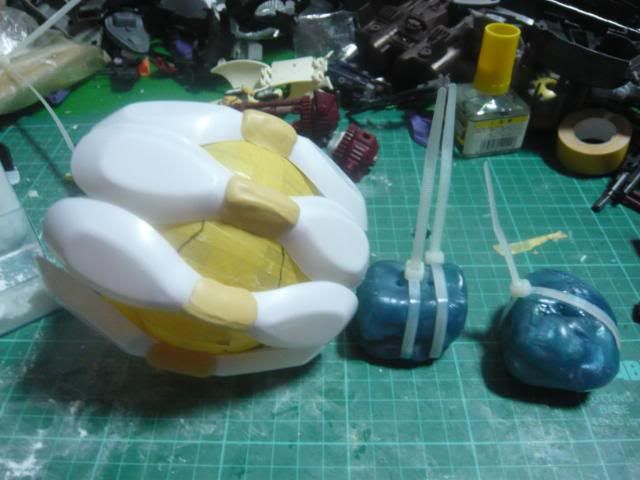
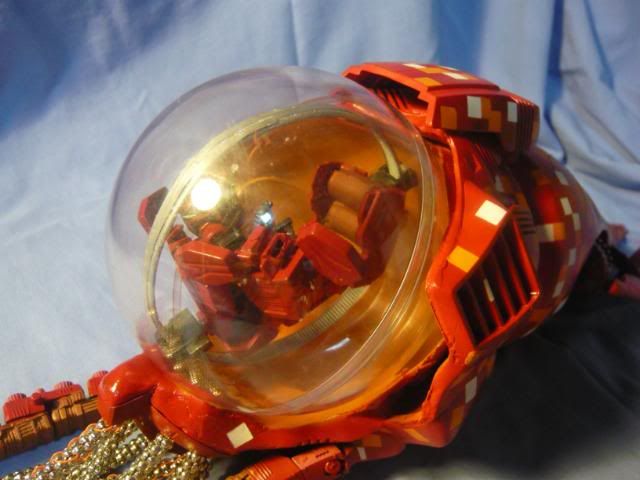
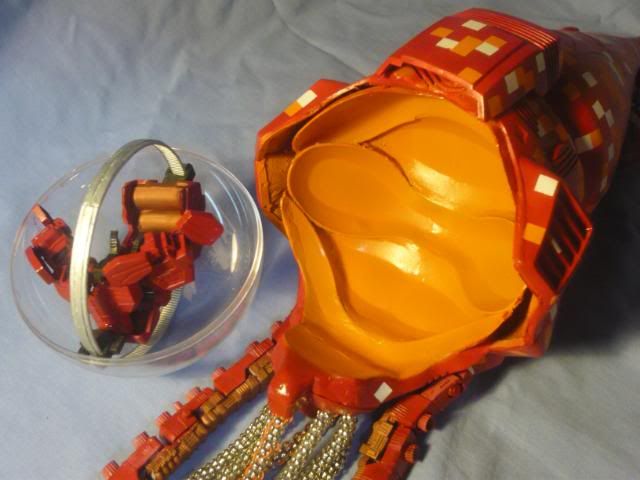
The critical dome for the cockpit turned out to be a Xmas deco ball... :D
And the arms are jewellery metallic beads purchased when my wife went to get her accessories whatsnot...
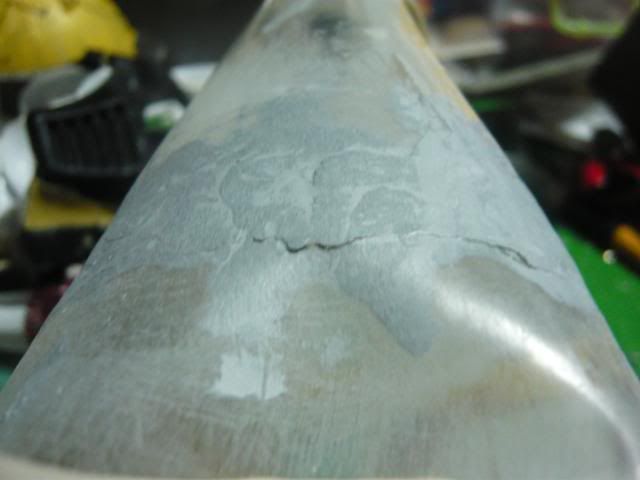
Next, the silhouette filling...(In order to protect the surface of the Xmas ball, I mummified it X_X)


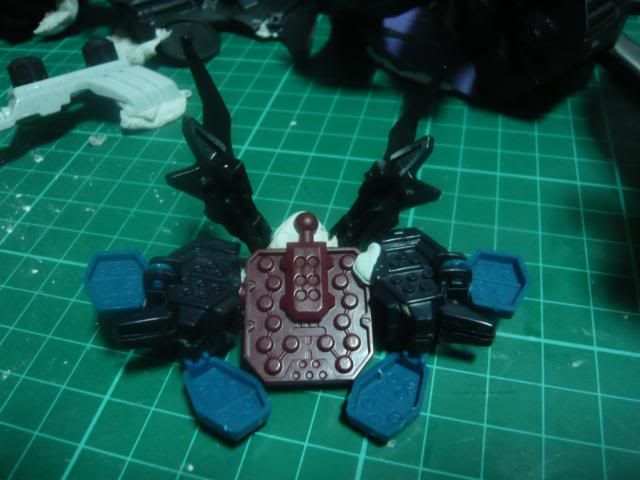
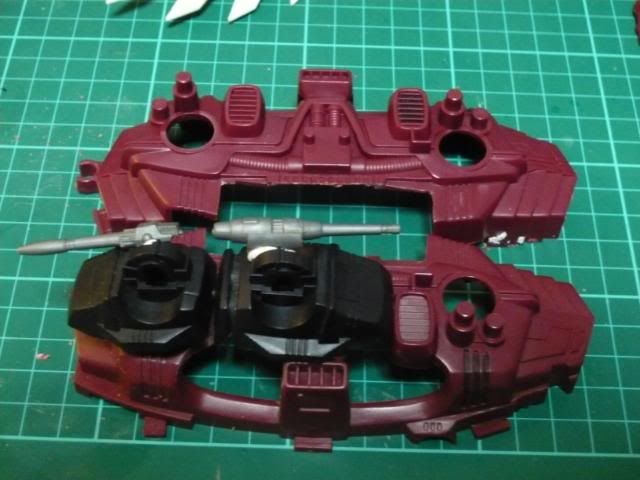
And the cockpit control panel...
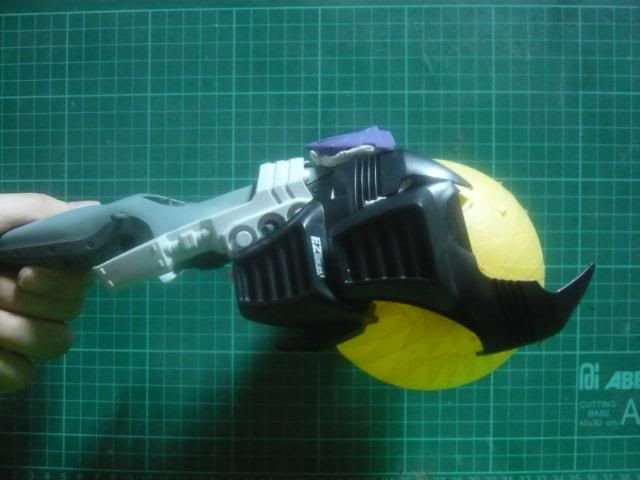
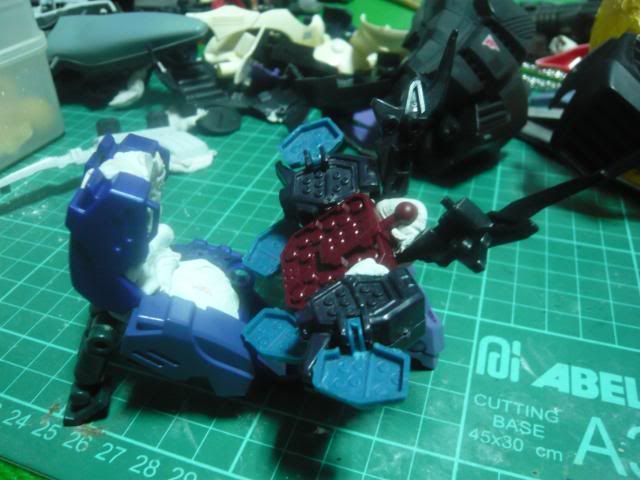
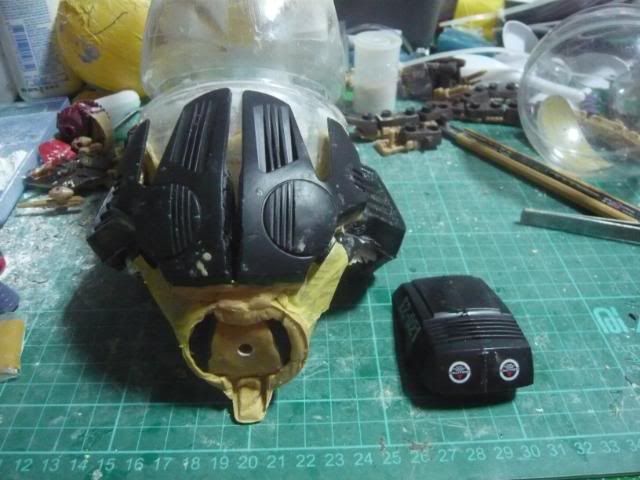
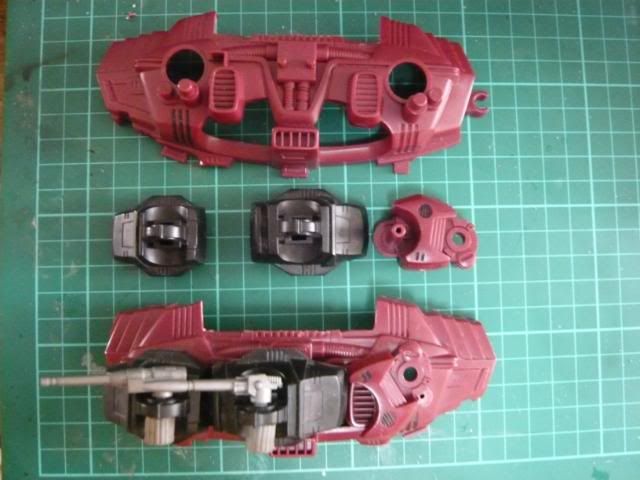
 Deathsaurer's parts are modified to become the "hood" of the squid.
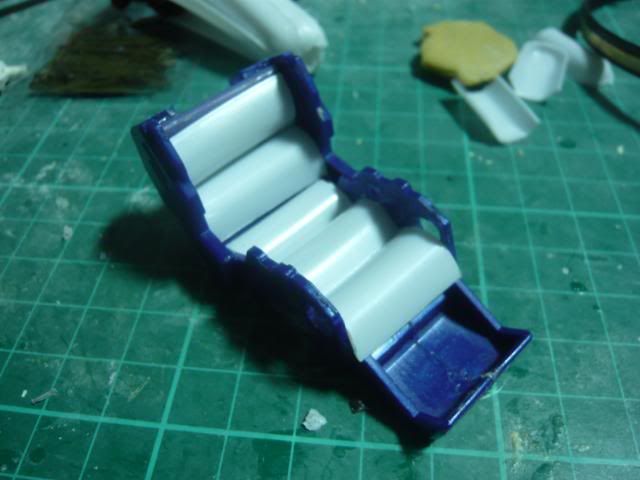
With the Singaporean designer seat

Adding it all together
 Yes, the cushion are actually broken plastic spoons.
http://www.blogger.com/img/blank.gif
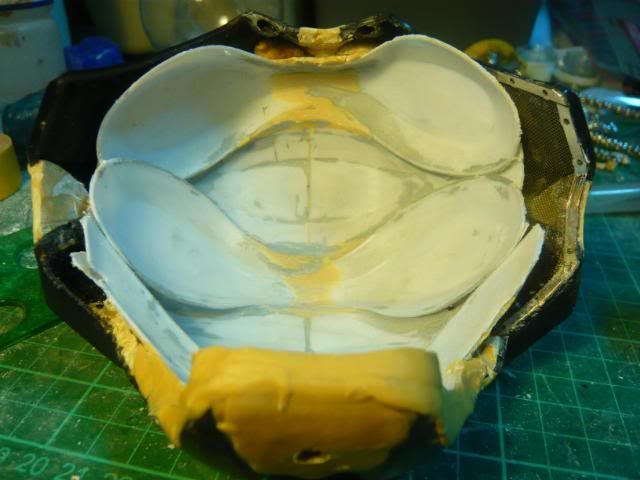
Seeing how transparent the dome can be, the back wall must be well-detailed as well...again, plastic spoons to the rescue :D
 This is a tough act as the padded wall must conform to the dome shape...Blue-tac is your best friend here ;)
Once the positioning is achieve, super glue and putty is generously applied :D

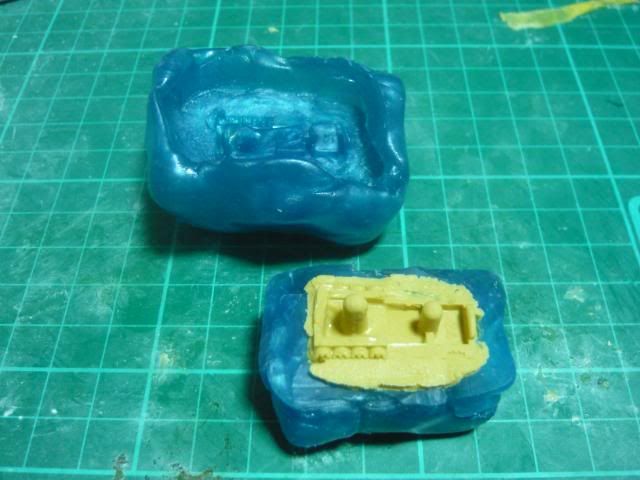
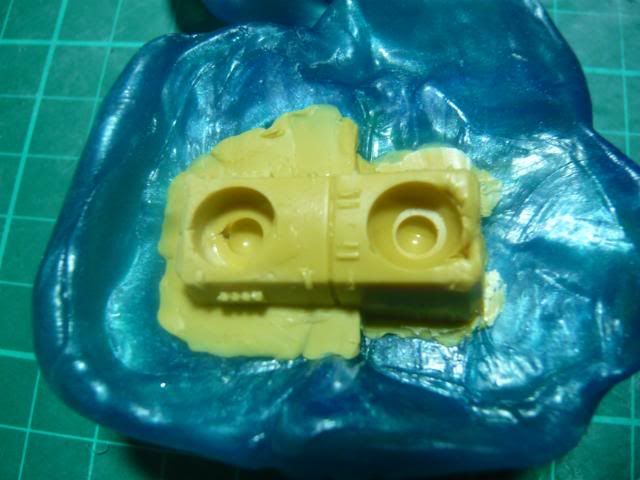
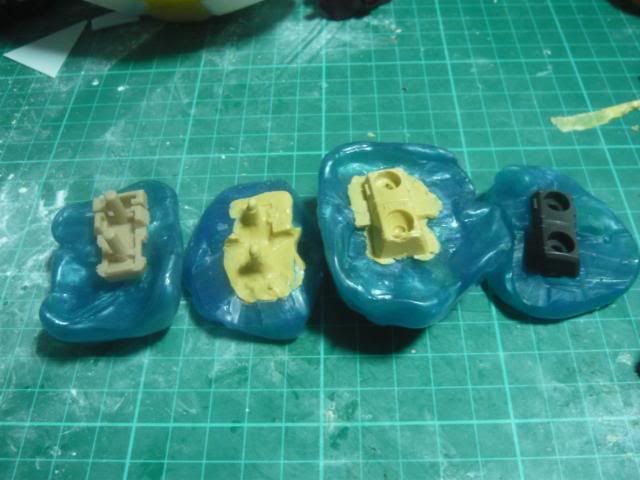
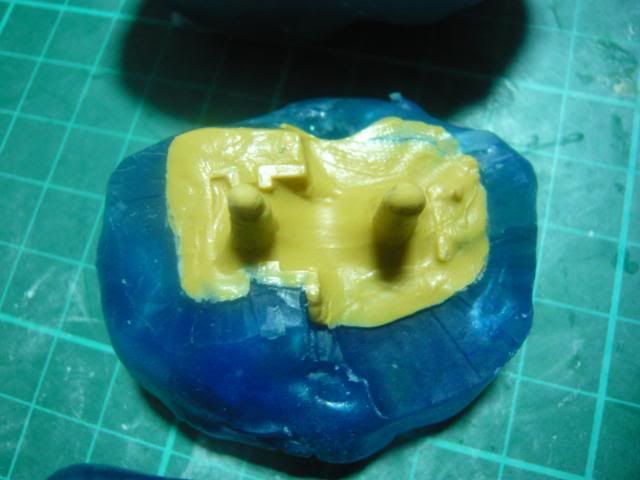
Seen next to the padded dome on the previous picture are the dumpling for this Duanwu Festival hehee... they are actually casting mold for the tentacles.


And here's the tentacles

Next is the mantle which is the main body of the squid...
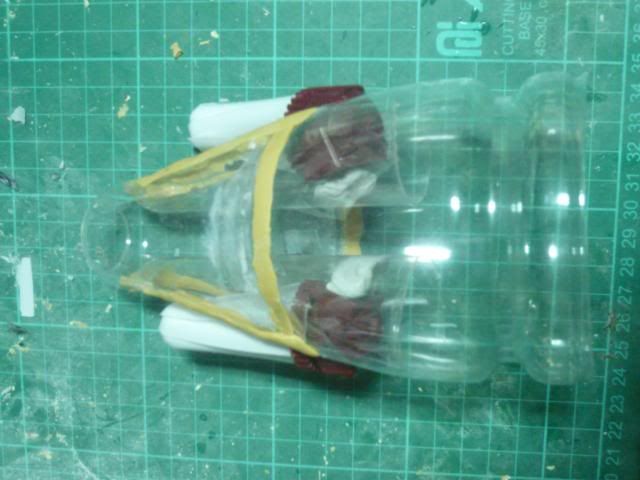
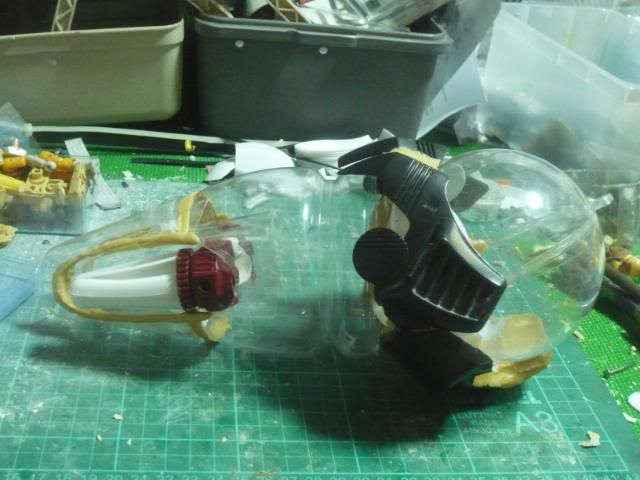
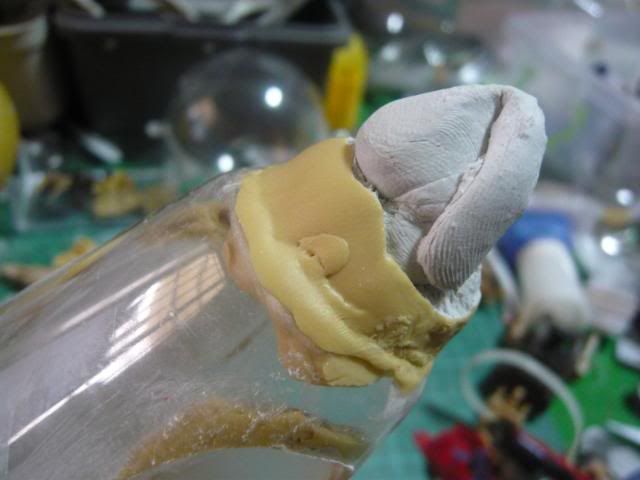
Recycle Pokka plastic bottle and A&W plastic bottle was used to form the shape.
I added two inset on each side of the mantle for the turbine placement.
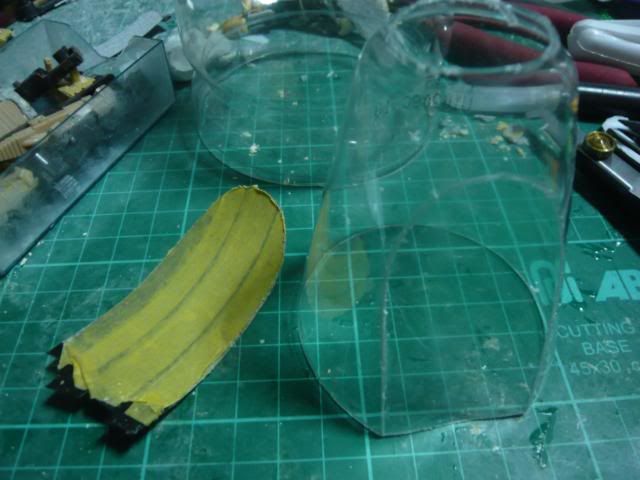
These were also make with recycled plastic wine glass :D
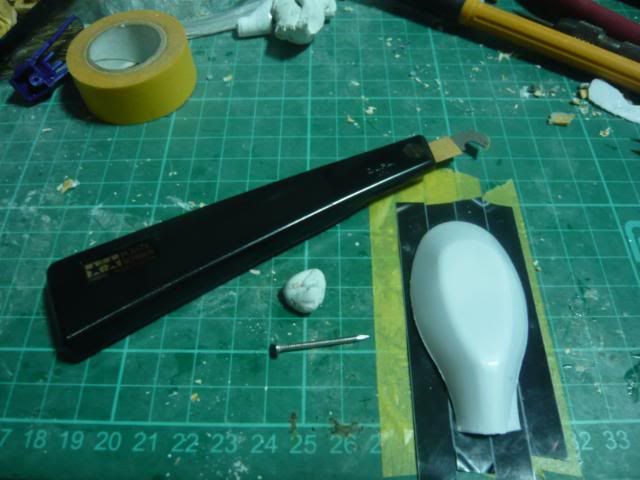
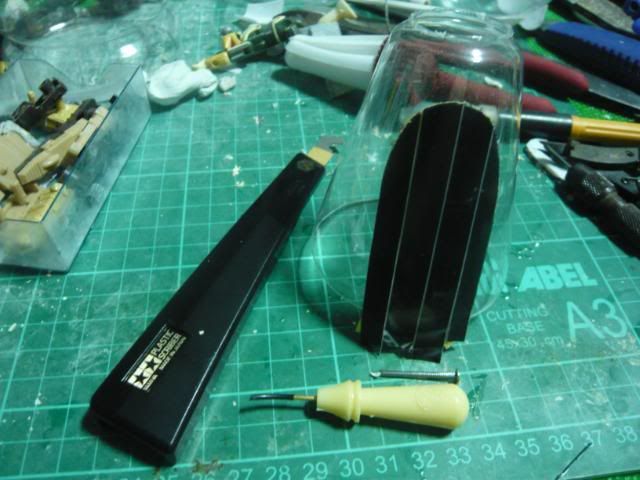
 This picture shows how the inset was "traced" out using embossing tape and the panel line scriber.

 Thank goodness for the scriber, as the plastic wine glass was very brittle... using the scriber to slowly engrave the plastic till it can be broken off in the intended direction really make it easy...and without saw dust all over the place is another plus point.
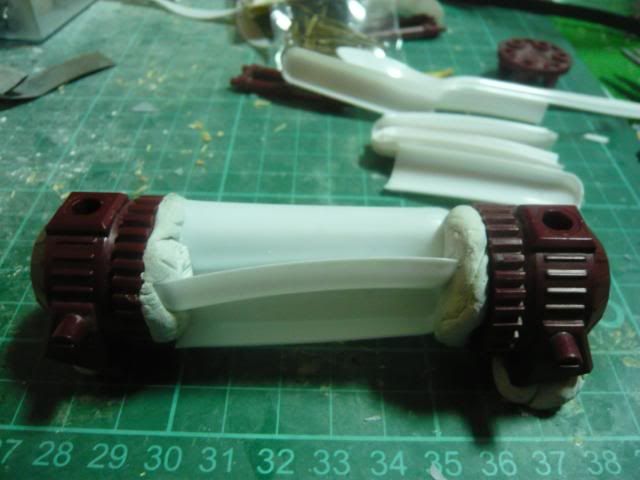
Once that's done, the turbines are next...
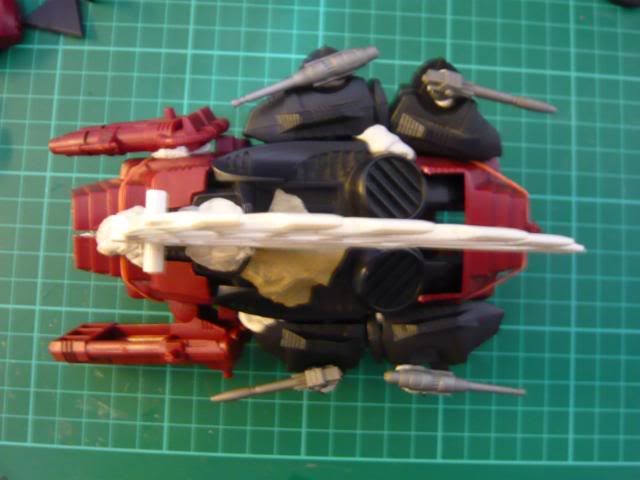
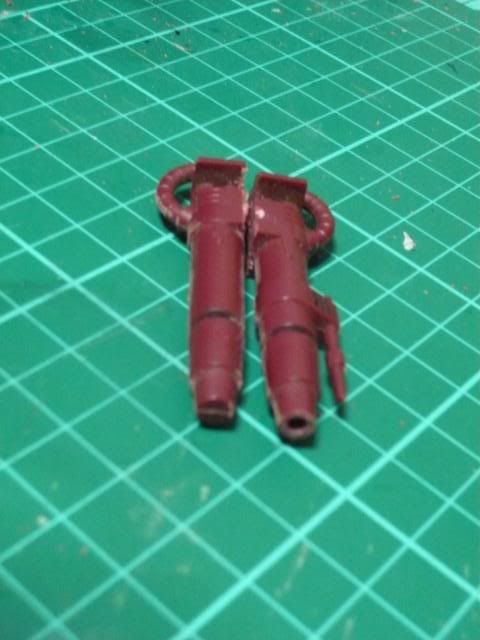
 Make with plastic spoons and the BZ-017 Laser storm's gatling body.

Posing with the rest of the mantle :)

At this stage, I m tailing behind the competition~
Literally...
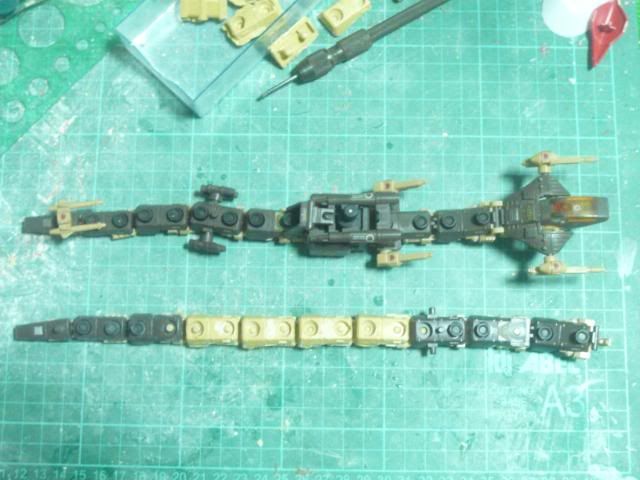
 Tail option 1
 Tail option 2
After deciding on the tail option, i noticed that the putty popped away at the mantle from the plastic.. as the plastic underneath is way softer than the harden putty... 
So when implementing tail option 2, i thought up this idea :D
1)Roll the kneaded putty around a rod of blue-tac
2)Insert a stick into the center then rotate and spread the putty around the underside of the hole.
3) Finally gently pull the blue-tac up to make the "spreaded" blue tac press against the wall.
4) Simply pull out the blue-tac when the putty is dried.
Voila, well-supported column for the tail section :D 
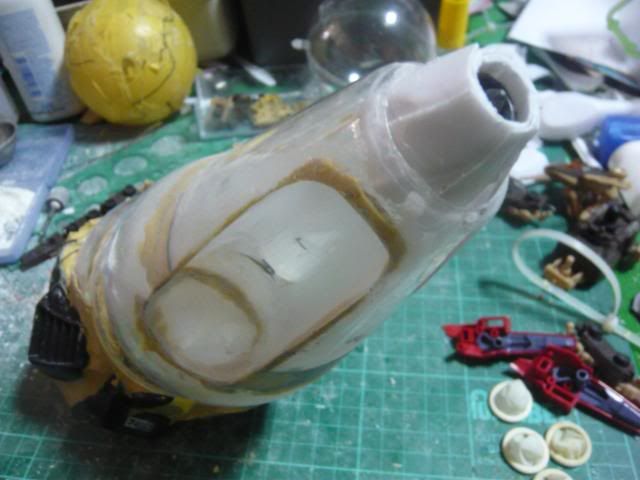
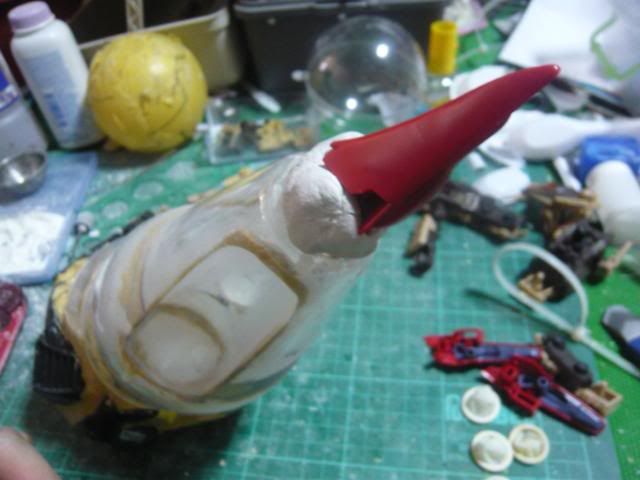
Finally, to join the mantle and the rest of the head together and covered up with another deathsaurer part ;)
 The rectangular part on the right is used as the funnel.
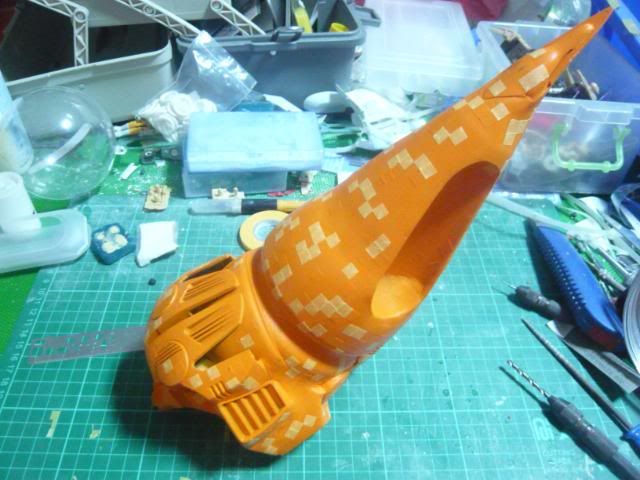
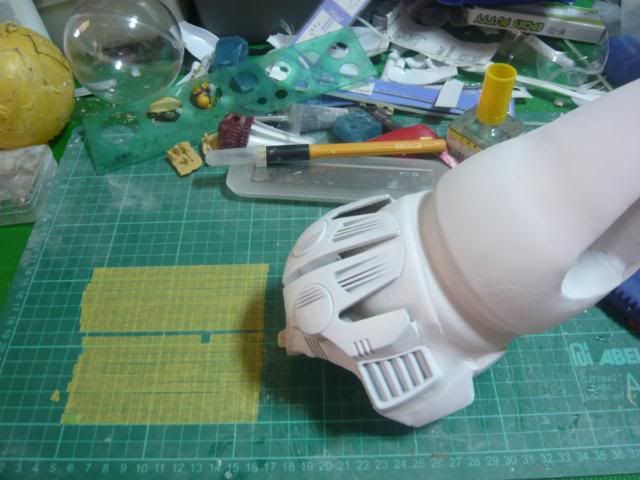
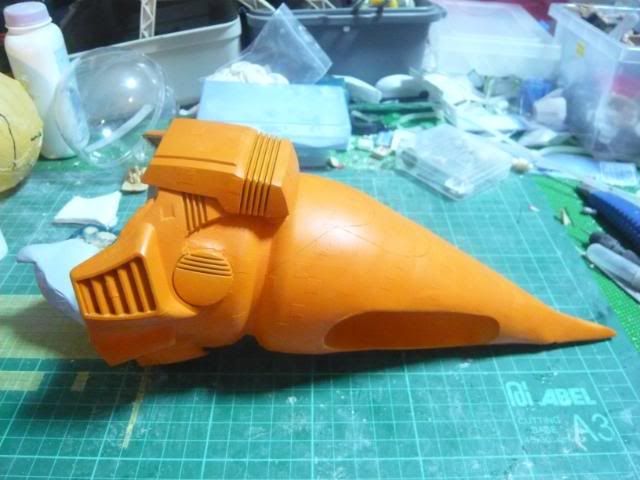
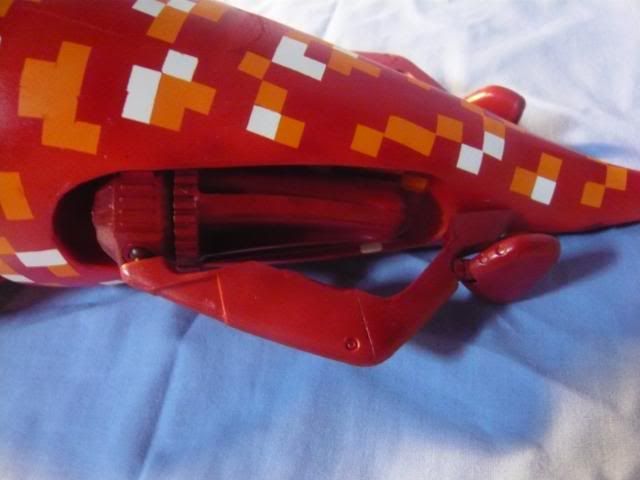
Bring on the paints...
Click here for Part III
Posted in
Akuma,
Construction,
Devil,
Red,
Zoids,
Zoidspoison,
ZPCC,
赤豪鬼
Labels:
Akuma,
Concept,
Devil,
Red,
Reference,
Zoids,
Zoidspoison,
ZPCC,
赤豪鬼
The inspiration for this custom came when I was creating 无(Wu). During the http://www.blogger.com/img/blank.gifcohttp://www.blogger.com/img/blank.gifckpit design phase, I found a cool design from the Gundam series...
And the other inspiration came from the matrix's sentinel. Being a Zoids fan, the end result must be an organoid... so this is ithttp://www.blogger.com/img/blank.gif
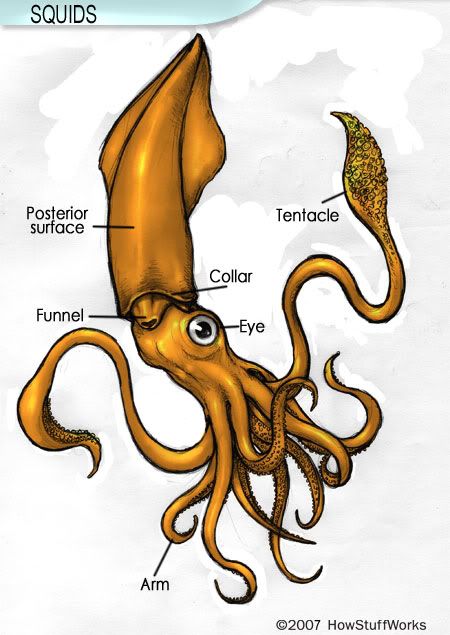
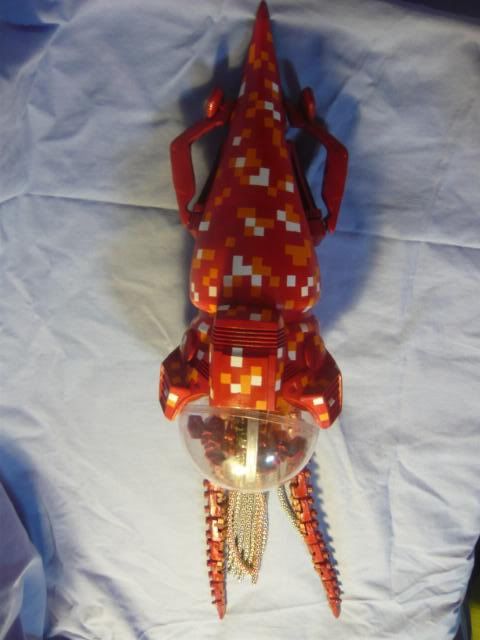
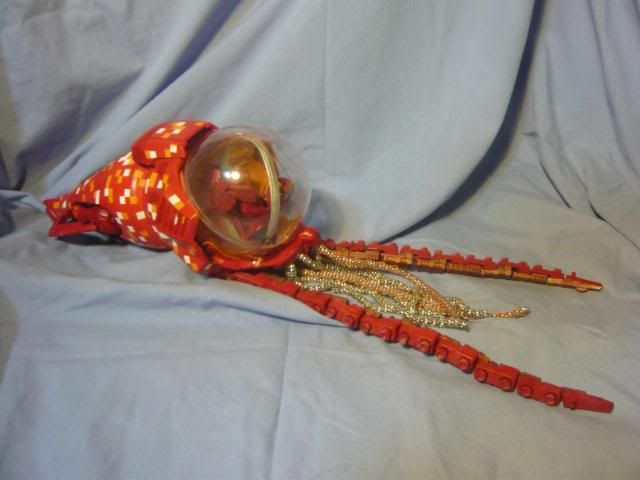
 Yes, its a Squid :D
But not just any squid, I want it to be the Humboldt squid (Red Devil Squid) as a deep sea vessel.
And to add to the challenge, I wanted to go green and use recycled plastic for this custom ;)
Click here for Part II
Posted in
Akuma,
Concept,
Devil,
Red,
Reference,
Zoids,
Zoidspoison,
ZPCC,
赤豪鬼
Labels:
Akuma,
Devil,
Red,
Zoids,
Zoidspoison,
ZPCC,
赤豪鬼
Posted in
Akuma,
Devil,
Red,
Zoids,
Zoidspoison,
ZPCC,
赤豪鬼
Labels:
WIP,
Wu,
Zoids,
ZPCC,
无
Now comes the real deal.
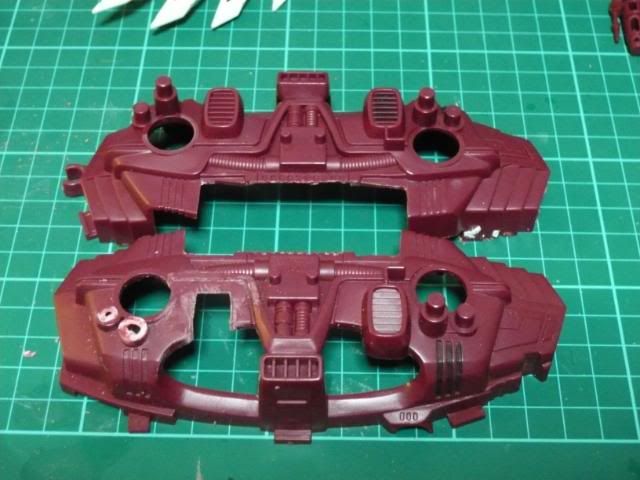
I was able to confirm the outlook using the relatively inexpensive colored regular issue part. Now I have to work on the transparent counterpart...
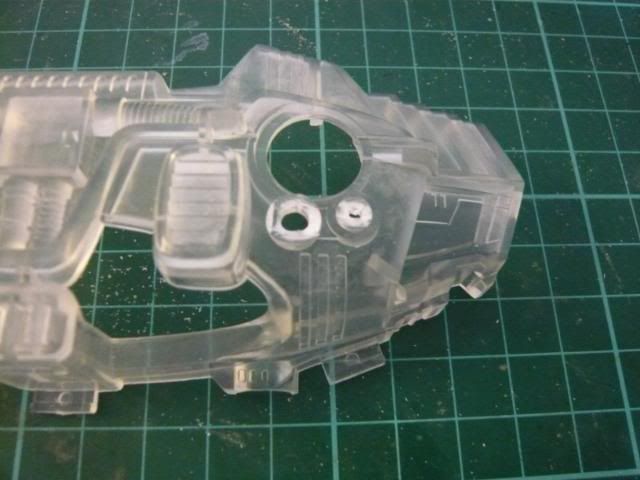
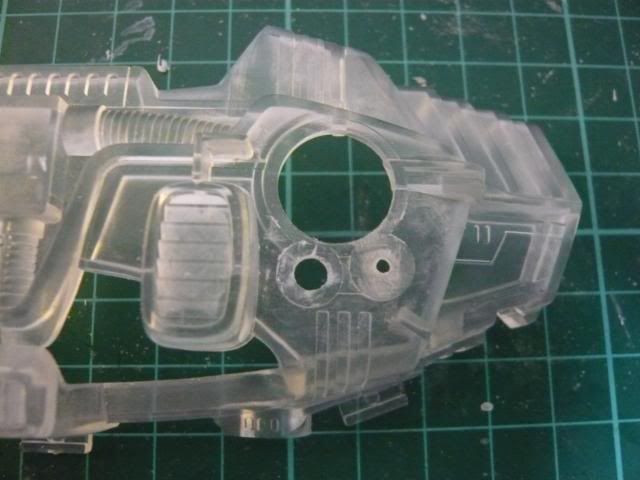
Only after I make a closer inspection of the part did I release something unexpected in a normal build...
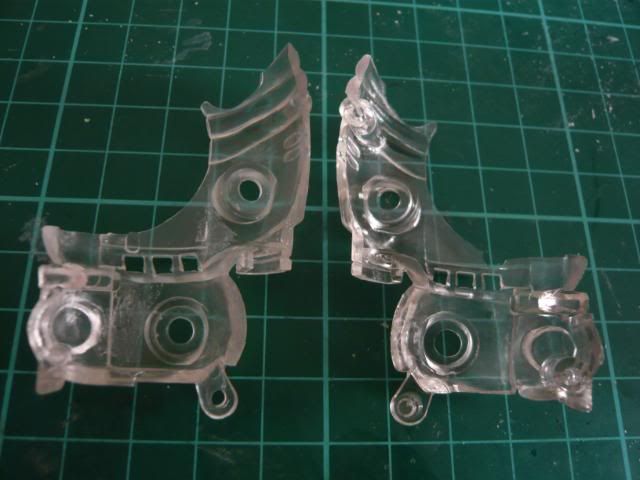
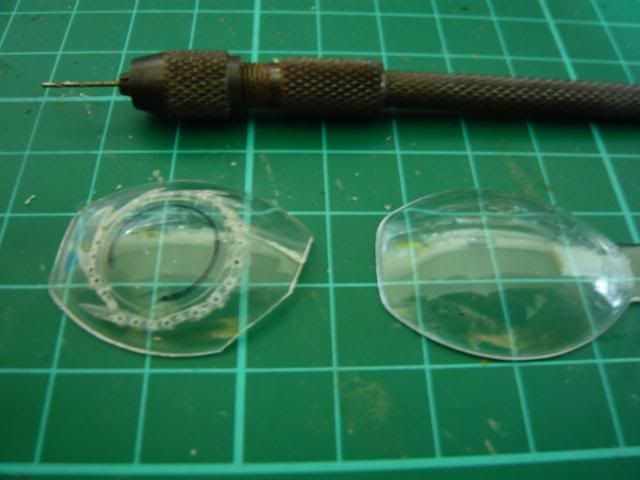
The mold lines on the internal side.... they are visible as the whole piece is see thru...And they are in hard-to-reach corners....I sand them down initially but in the end I just use my micro chisel to scratch them off...Next headache....after I cut off the unwanted part, white stress marks appeared due to the tension....

Again, sand and scratch with chisel...or finger nail~ Another approach is to cut them with a little buffer so that it can be removed with a less tension tool like a chisel or penknife.

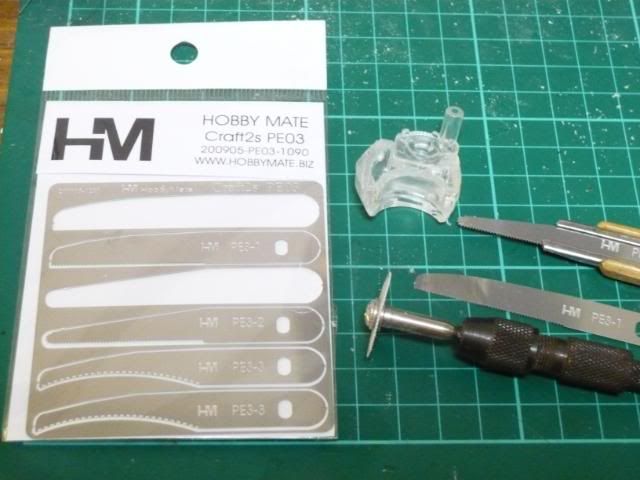
As the part selection is so limited, every single bit counts... I decide to get this photo etch saw to make the collateral damage to a minimum.

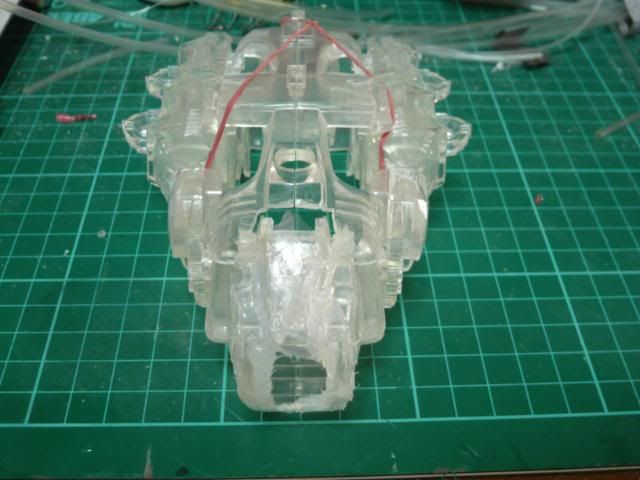
And lastly, being transparent means that regular putty cant be used to seal up gap/holes... I brought a pack of clear putty but upon hearing poor review abt it, I decided not to risk it... So in the end I used clear silicon which is much cheaper...
Beware tho, try not to handle them using your bare hand. Wear a latex glove or something. If any of those sticky thingy get onto you, try acetone (regular nail polish remover)

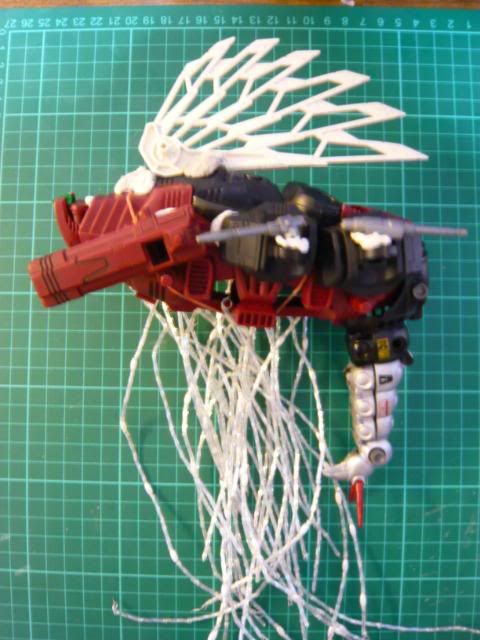
Next are the tentacles... After I line up the glass beads, I still find them too blocky and it doesnt match the fluid idea that I have. So I decided to use clear heat shrink tubing to encase them so that they look like a single piece. Now come my blunder... in order to effectively shrink them, my hot hair blower cant really do it without short-circuiting the whole neighborhood power grid. So I used hot water...And it works nicely... but the side effect was if water happen to seep in.... the cheapo $2 wire will rust... no wonder I saw those expensive wire in the bead shop... those must be rust-resistant...
And finally, the paint job....
so... how do you color something that's supposed to be transparent...
Well, you dont... hmmm, then again, you can :D
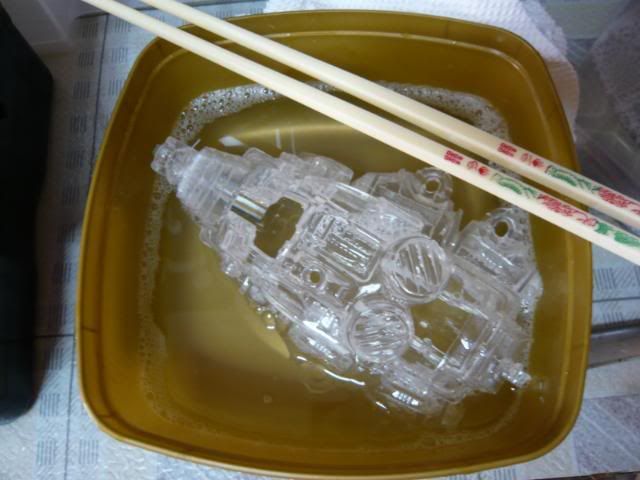
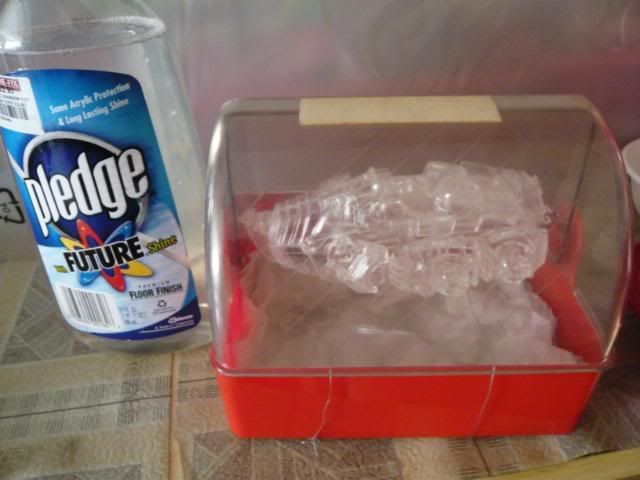
When you cant see into the future, apply it now.
Try to have at least half of the part submerge into the solution. Keep the movement to a minimum to avoid stirring up too much bubbles... Rotate it around for the future to flood out the trapped bubbles.

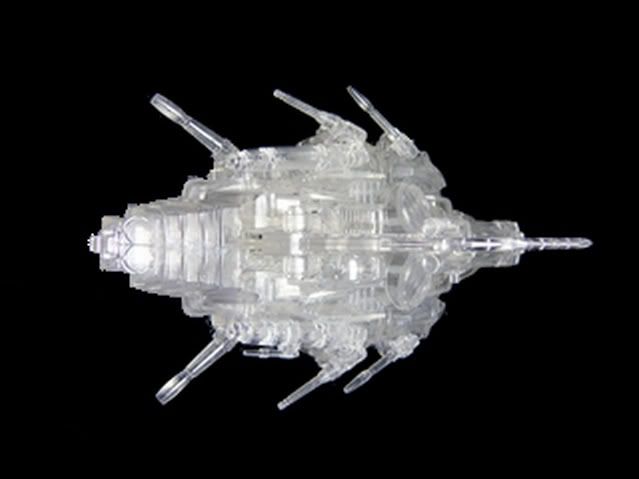
See the different? Not only it make it bling like glass, it helps to fill up little scratches. Hehee, so technically I did paint my custom and the color scheme is just that. Transparent.

But its really a dust magnet... so keep it dust free... The new packaging is now called the Pledge with Future shine. This set me back $22SGD... but being a cheapo, I pour back whatever I used.... and now i notice there are now some particle inside the bottle...
And this is it....
Relatively lesser effort than my previous custom but was able to achieve the effect that I wanted :) If I can turn back time and redo this, I will add less tentacle and keep within the silhouette. I find the tentacle positioned too far in-front thus making the main body look short and lost the appearance of a buoyancy ballast compartment look. Overall it was great fun and the end result was worth the cost :)
In the end I spent another $30 buck to get a LED stripe that can change 7 colors to make my display look like those jellyfish tube in the aquarium :D
Posted in
WIP,
Wu,
Zoids,
ZPCC,
无
Labels:
WIP,
Wu,
Zoids,
ZPCC,
无
Posted in
WIP,
Wu,
Zoids,
ZPCC,
无
Labels:
WIP,
Wu,
Zoids,
无
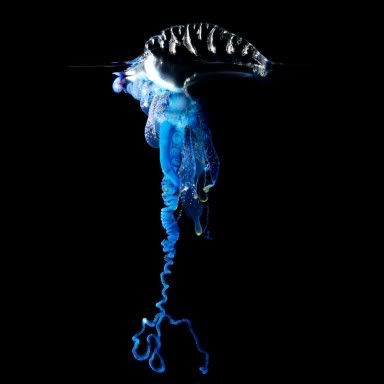
I have always been fascinated by the transparency of the jellyfish and how it look so unreal and yet so alive with it fluid movement at the same time... So I decided to make a custom based on this same inspiration... Alas, the idea of Man-Of-War pop up... though not a jellyfish, its still nearly as transparent as one.
Thus after some surfing, i found the silhouette of my custom:

Next comes my headache.... how do I make it transparent and leave no marks on it after modification... And it hit me, I can mold them using clear resin.
Unfortunately when I found my resin and latex... they were all dried up due to my poor maintenance...I have to think of something fast...Thank god for having our community's most resourceful fan here in Singapore, Philip aka APM, I got a bundle of built stuff from him earlier and in one of the goodies bag... I found a built Crystal Red horn and a Crystal molga. Since this is my last resort, I took it upon myself to make the custom using only these...this is the most challenging task to date... to make a custom using only limit model. To make it worst... I must not use any putty or leave any visible modification mark on the final custom since its transparent....
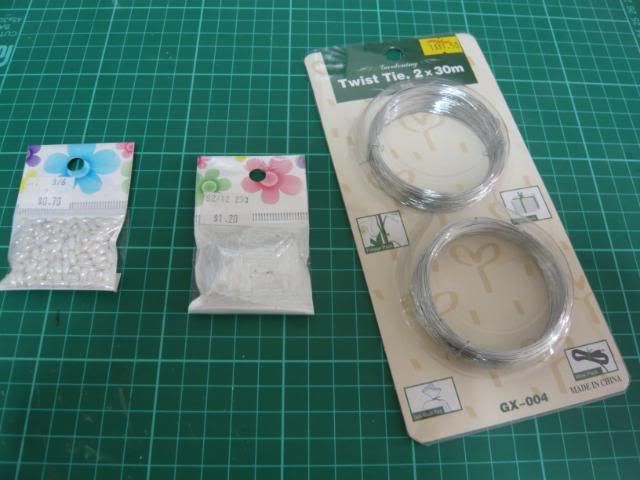
I feel that the most important part of the Man-Of-War is its tentacles... After keeping an eye out for anything transparent, I found this...

Cost me a few red notes to get a tub of them. The wire is only $2 tho... more about this later.
Next comes the main body. Since these Zoids are rare and expensive, I decided to try out my design on the built regular issued Zoids that I have.

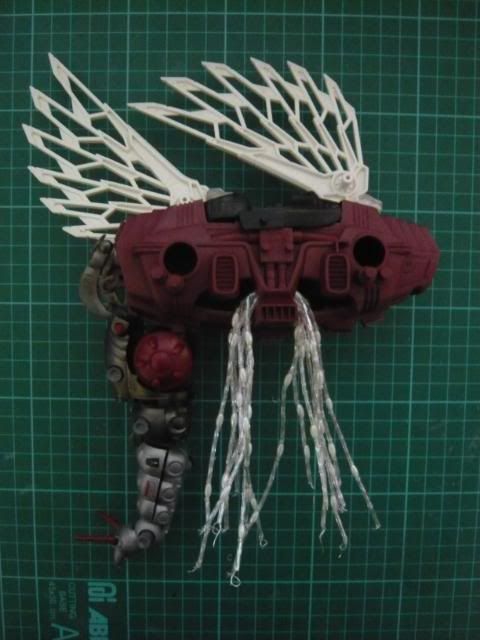
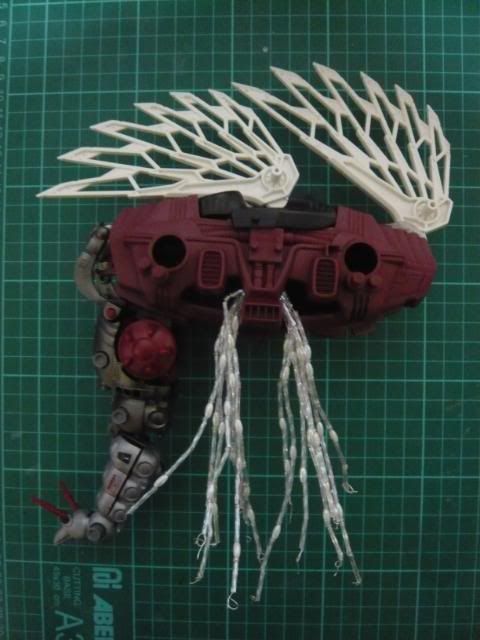
I initially wanted to use the Gojulas HT's back fin... but they look too short and stompy.. Heres another arrangement of the buster eagle fin.

In the end... I chose none from the above... I gave in to the Capitalism... the cost of the Zoids will simply be too much... I have to only temporally borrowed a wing from the Crystal buster eagle...the holes on the sides irks me some tho...

So the design of the top fin of the Man-Of-War must be removable...And notice the holes are now covered up by the feet of red horn? Hehee, they are now the extra compartment of the ballast chambers.
To be continue...
Posted in
WIP,
Wu,
Zoids,
无