Monday, February 9, 2009
Kaiten: Work In Progress - Prototyping The Cockpit Part II
Labels: Kaiten, MCON 08, WIP, 回天 0 commentsNo! The title is not wrong.
YES! The darthing is still ON~!
Immediately after MCON08 exhibition was over, I laid out my tools and roll up my sleeve again :) This time I'm hell bent on working on the interior and what I started out to achieve: The human interface.
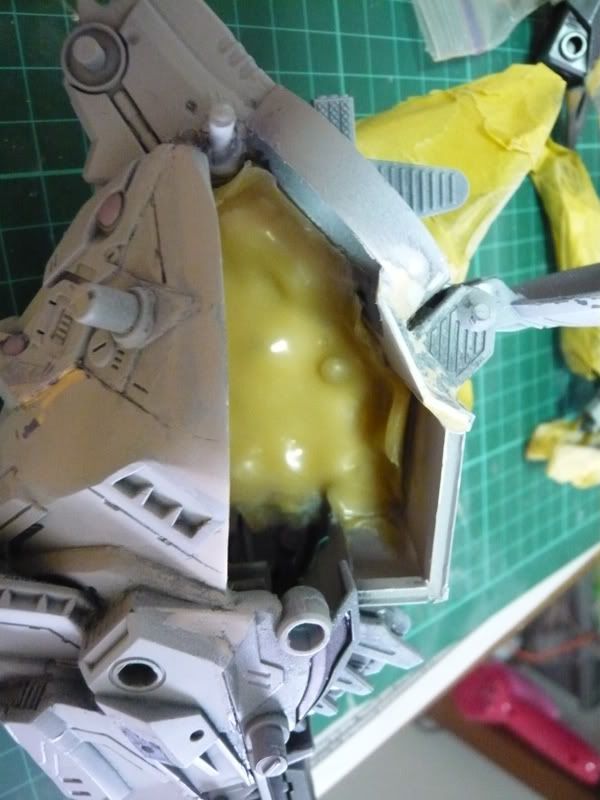
Then.....After trying for days, I finally give up to try to access the interior through the opened hatch and the detachable left side armaments. I even tried to cast the interior and succeeded in making the replicate of the side wall... but to create what I had in mind is still too difficult.
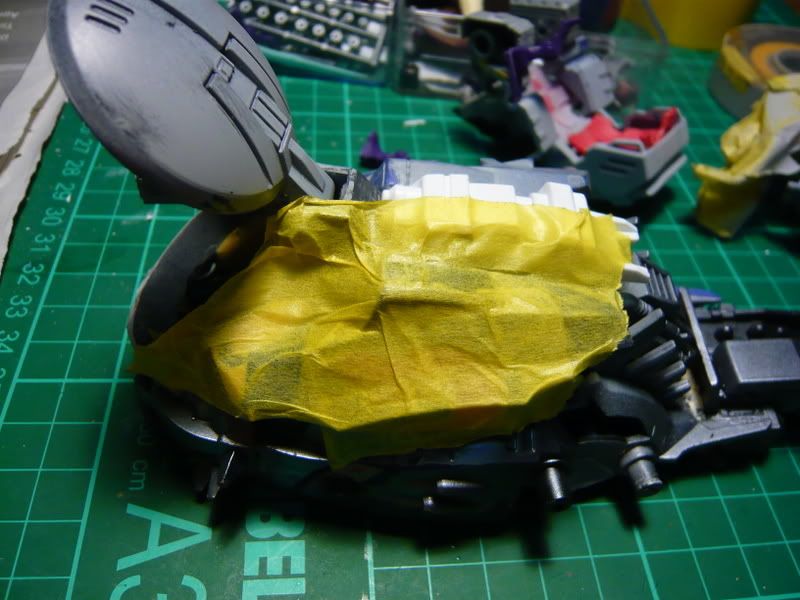
So in order to improve the situation... I have to dissect Kaiten into two....after so much had been done....Seen here is the back half undergoing masking for some putty work.

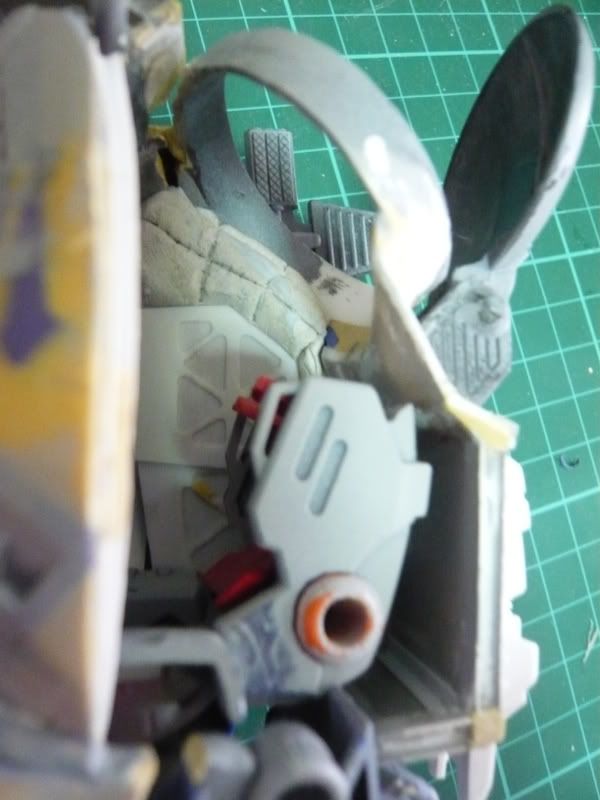 Next comes the exciting part :)
I wanted to create a padded environment like the Ma.k suit to safely cocoon the pilot. So I used blue tac to doll up the side wall.
Originally, all I wanted was just padded side wall but then I started to enjoy myself and moved on to putting panel pieces into the idea. After finalizing the cockpit side panel design, its back to the tappy tray to engrave and accessorize.

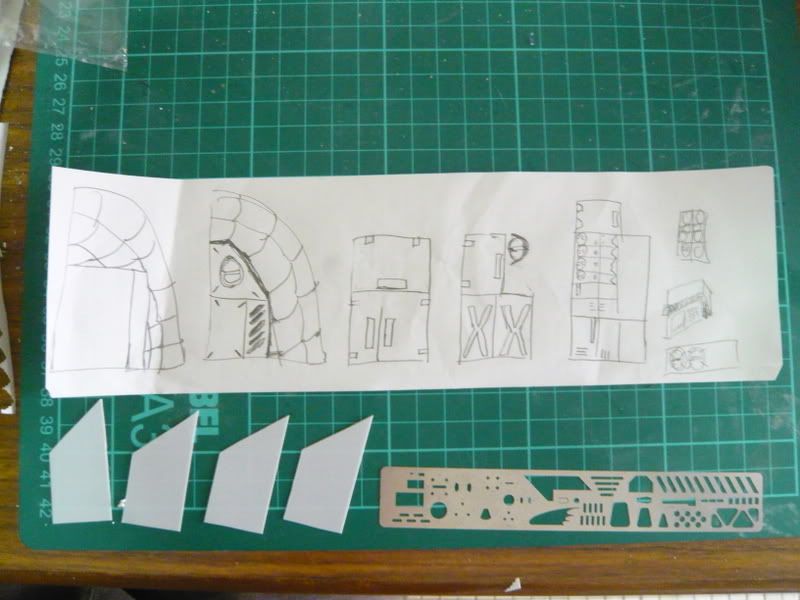
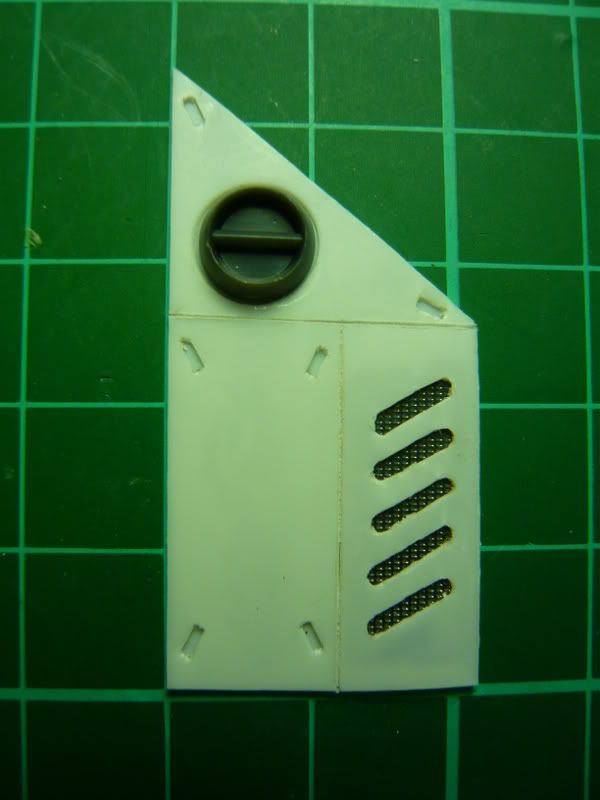
After fixing up both side:
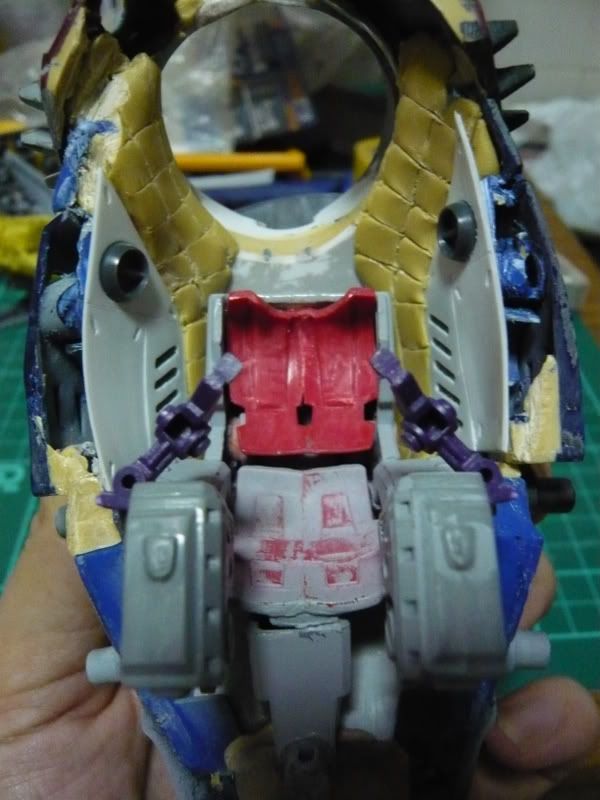
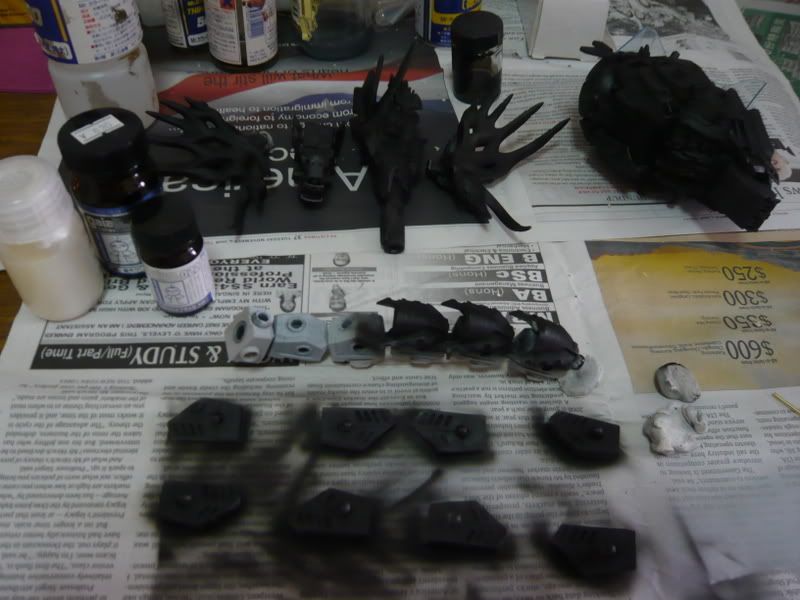
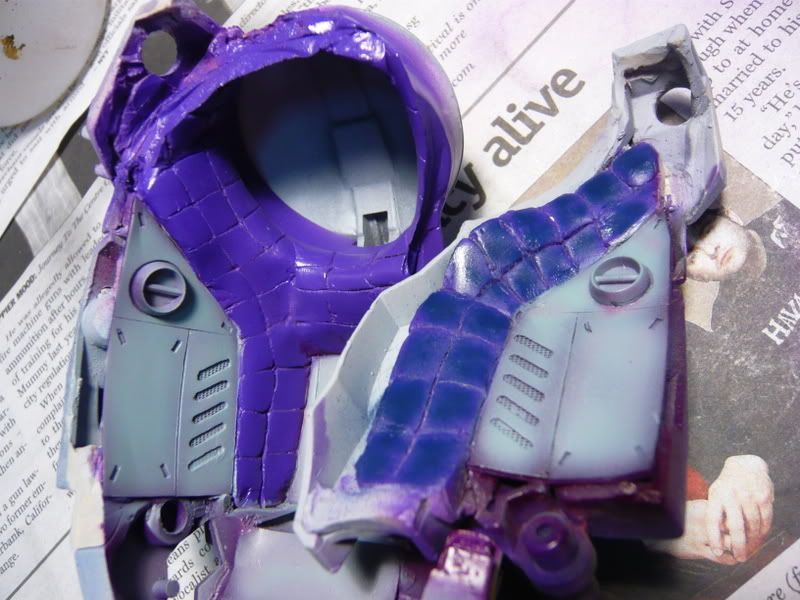
Here's after pre shading the padded side panel :)
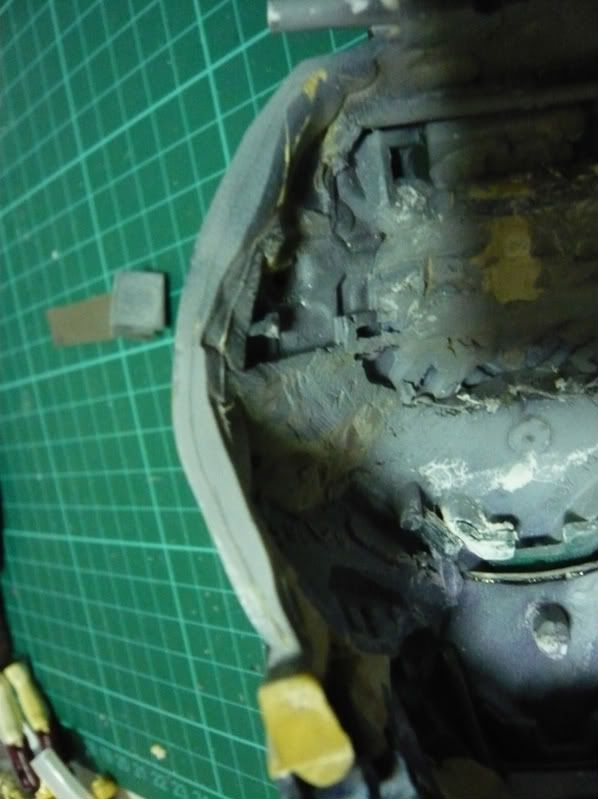
Then I moved on to make the front of the cockpit. First off is the side pillar that will display strong and sturdy appearance and also house the screen. I started by creating a groove to house the styrene H bar. And to emphasize the submarine vehicle look, I added bolts to the pillar:


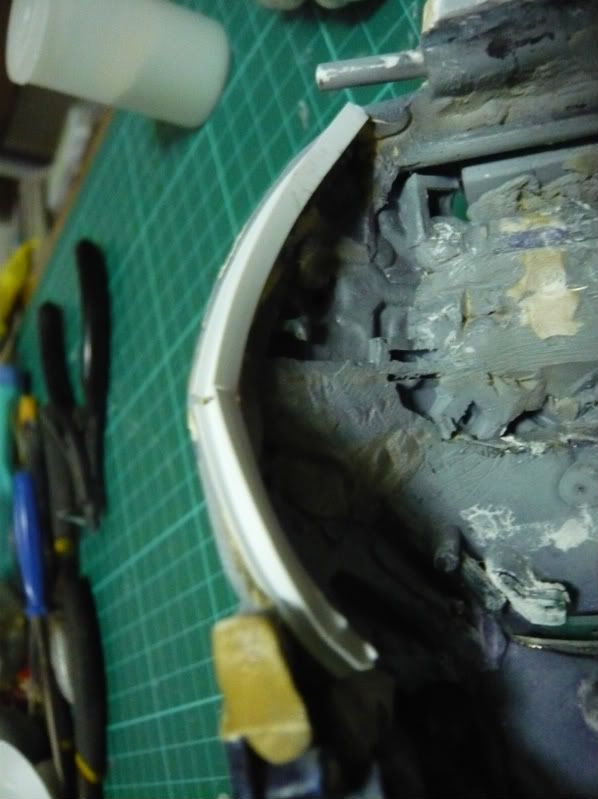
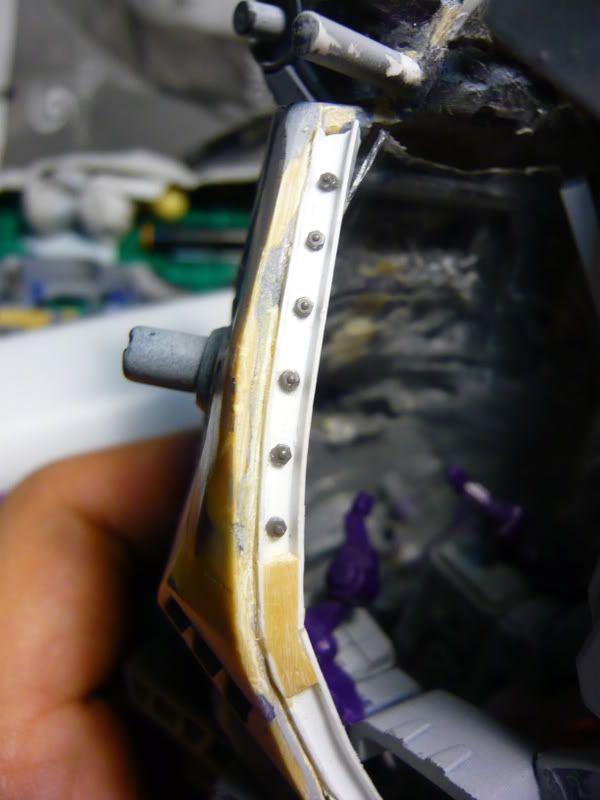
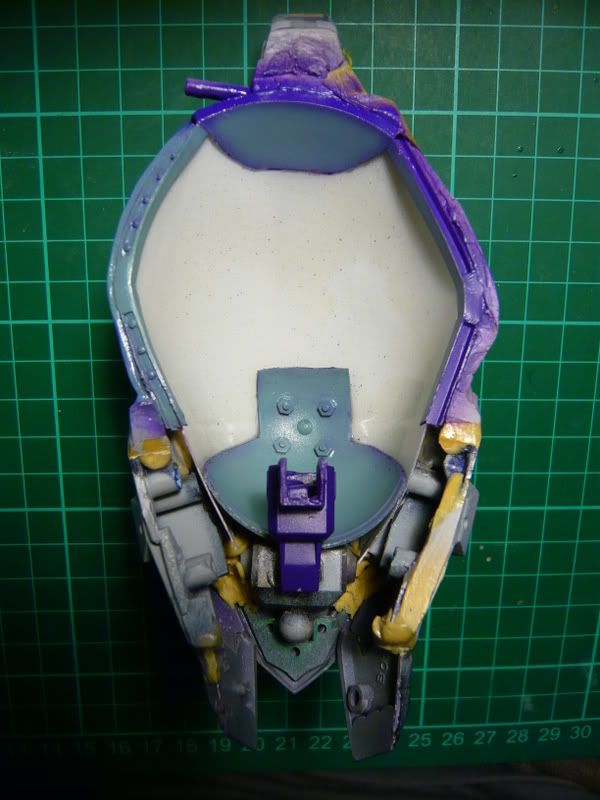
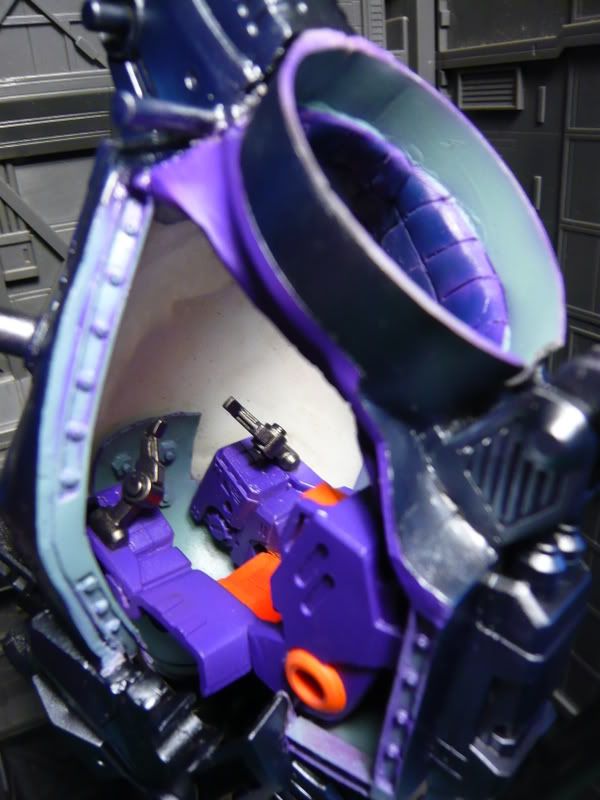
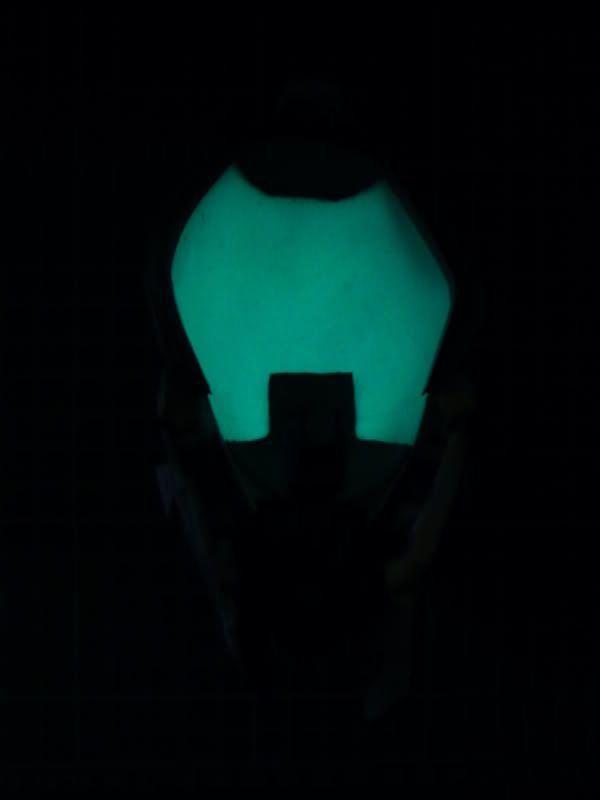 Now come the moment of truth.... can this fit my idea of a cockpit... The Head-Up Display spanning 180 degree~! I finally found a part that can do this. And its a plastic soda bottle...Final touch with a little glow in the dark paint to make the screen comes alive :)
For the flooring, I cut a capsule egg into the desired shape and use the remaing bolts to seal up the holes.
And there you have it, the cockpit saga is finally completed.