Wednesday, January 27, 2010

无: Work In Progress Part III - Transparent Headaches  

0 comments

Now comes the real deal.
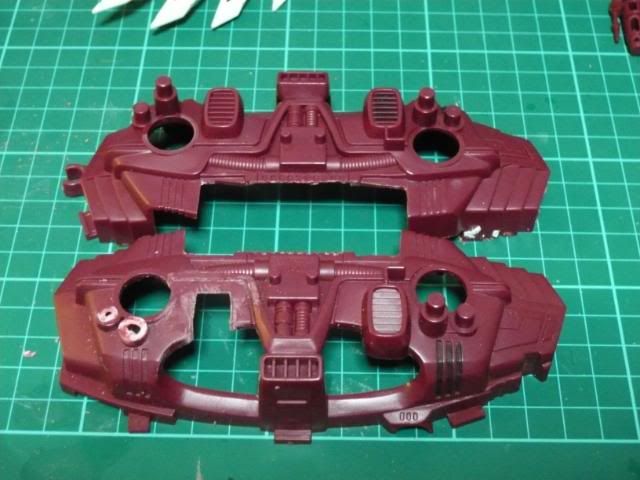
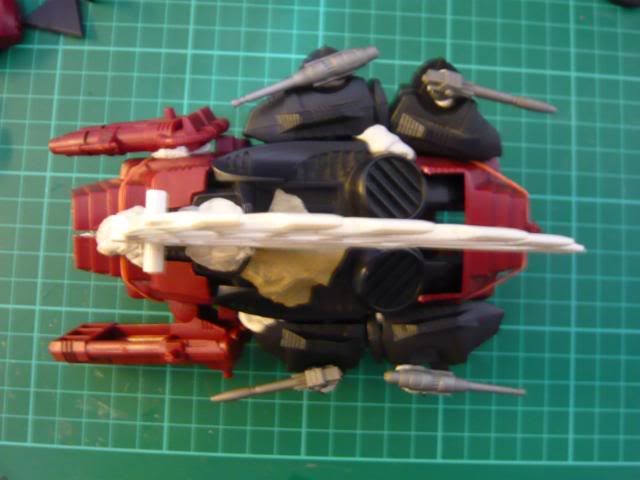
I was able to confirm the outlook using the relatively inexpensive colored regular issue part. Now I have to work on the transparent counterpart...

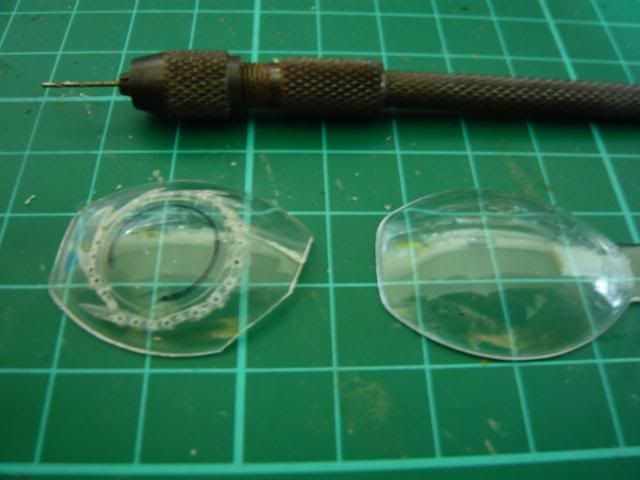
Only after I make a closer inspection of the part did I release something unexpected in a normal build...

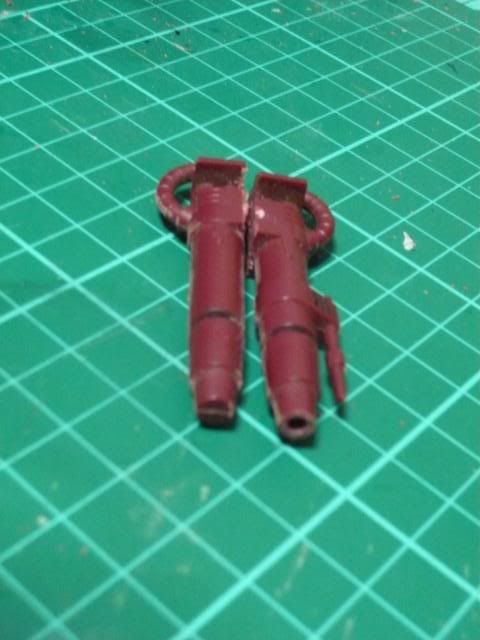
The mold lines on the internal side.... they are visible as the whole piece is see thru...And they are in hard-to-reach corners....I sand them down initially but in the end I just use my micro chisel to scratch them off...Next headache....after I cut off the unwanted part, white stress marks appeared due to the tension....

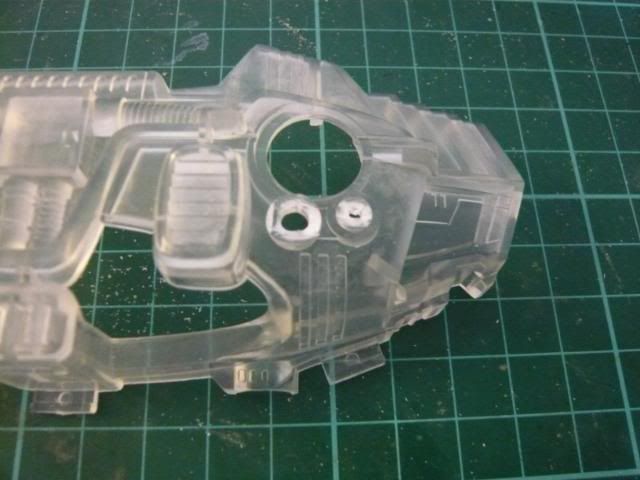
Again, sand and scratch with chisel...or finger nail~ Another approach is to cut them with a little buffer so that it can be removed with a less tension tool like a chisel or penknife.

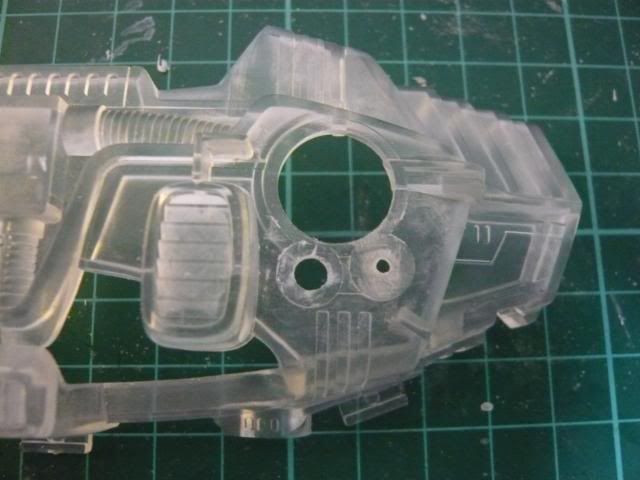
As the part selection is so limited, every single bit counts... I decide to get this photo etch saw to make the collateral damage to a minimum.

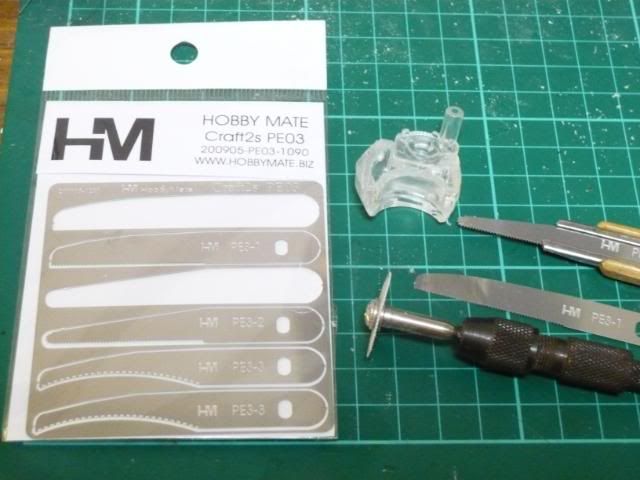
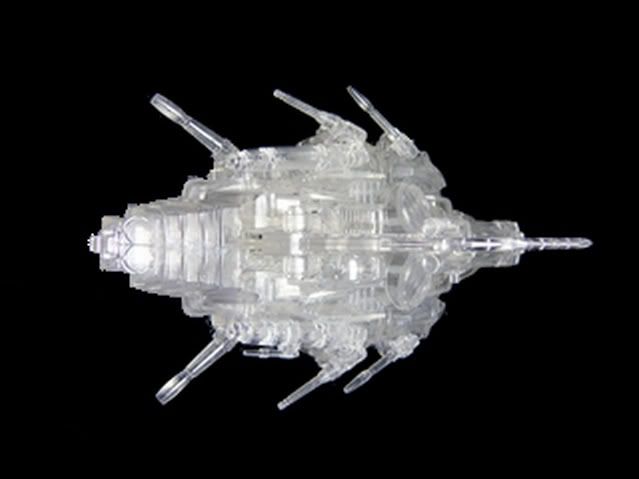
And lastly, being transparent means that regular putty cant be used to seal up gap/holes... I brought a pack of clear putty but upon hearing poor review abt it, I decided not to risk it... So in the end I used clear silicon which is much cheaper...
Beware tho, try not to handle them using your bare hand. Wear a latex glove or something. If any of those sticky thingy get onto you, try acetone (regular nail polish remover)

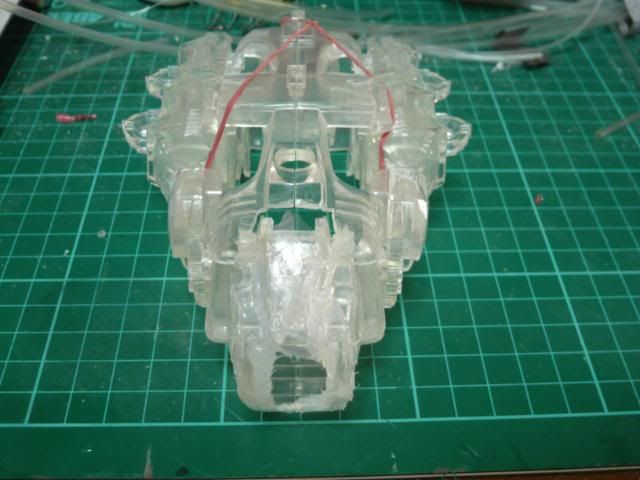
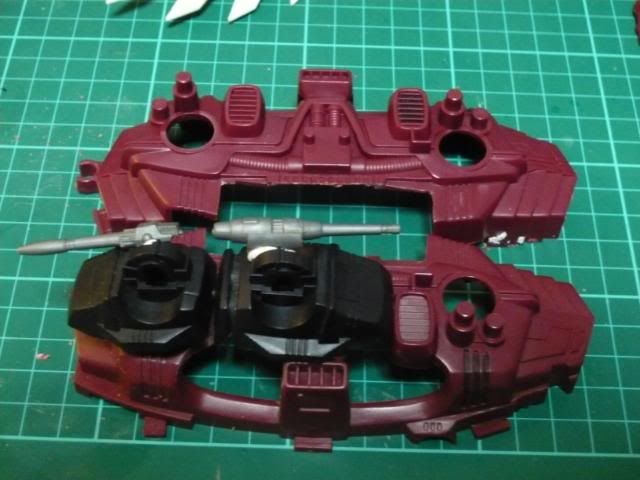
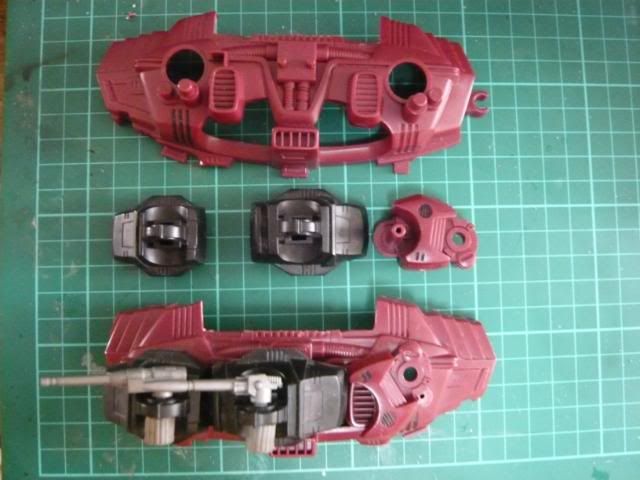
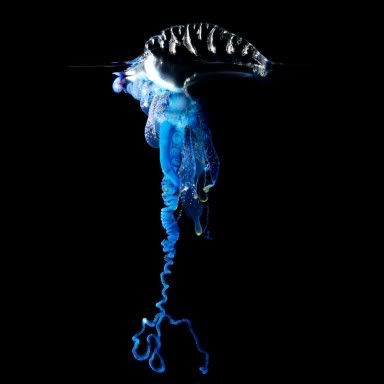
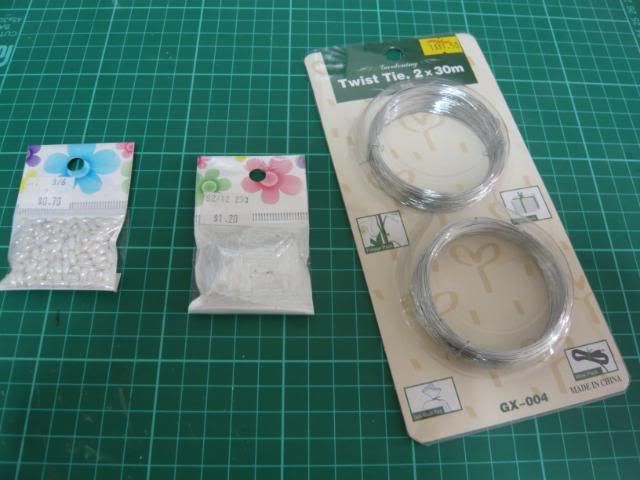
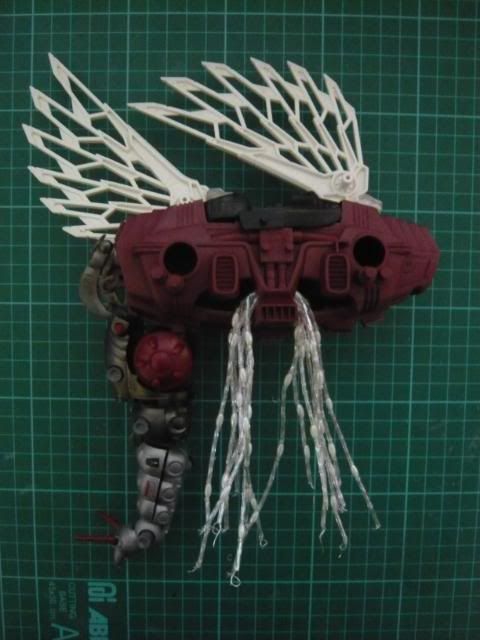
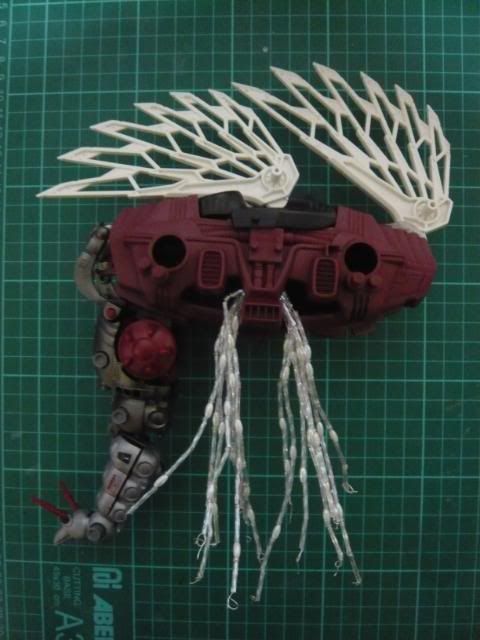
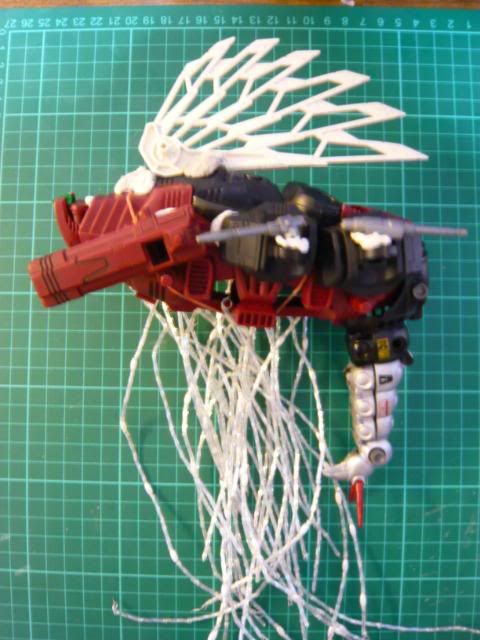
Next are the tentacles... After I line up the glass beads, I still find them too blocky and it doesnt match the fluid idea that I have. So I decided to use clear heat shrink tubing to encase them so that they look like a single piece. Now come my blunder... in order to effectively shrink them, my hot hair blower cant really do it without short-circuiting the whole neighborhood power grid. So I used hot water...And it works nicely... but the side effect was if water happen to seep in.... the cheapo $2 wire will rust... no wonder I saw those expensive wire in the bead shop... those must be rust-resistant...

And finally, the paint job....
so... how do you color something that's supposed to be transparent...
Well, you dont... hmmm, then again, you can :D

When you cant see into the future, apply it now.

Try to have at least half of the part submerge into the solution. Keep the movement to a minimum to avoid stirring up too much bubbles... Rotate it around for the future to flood out the trapped bubbles.

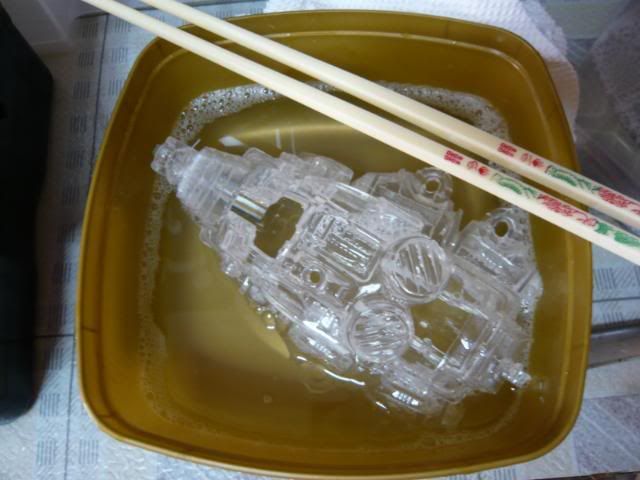
See the different? Not only it make it bling like glass, it helps to fill up little scratches. Hehee, so technically I did paint my custom and the color scheme is just that. Transparent.

But its really a dust magnet... so keep it dust free... 
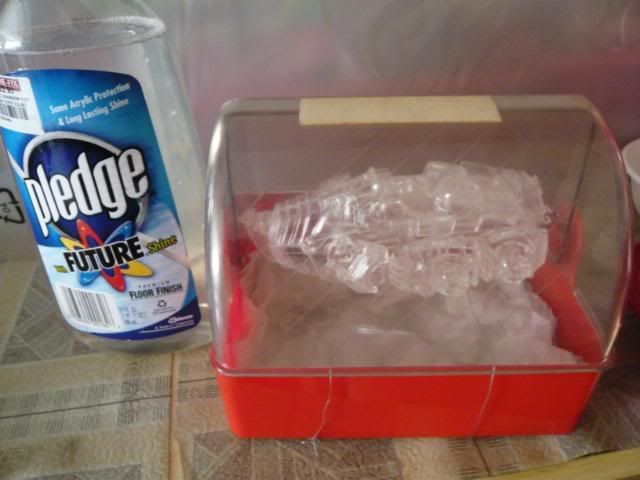
The new packaging is now called the Pledge with Future shine. This set me back $22SGD... but being a cheapo, I pour back whatever I used.... and now i notice there are now some particle inside the bottle...
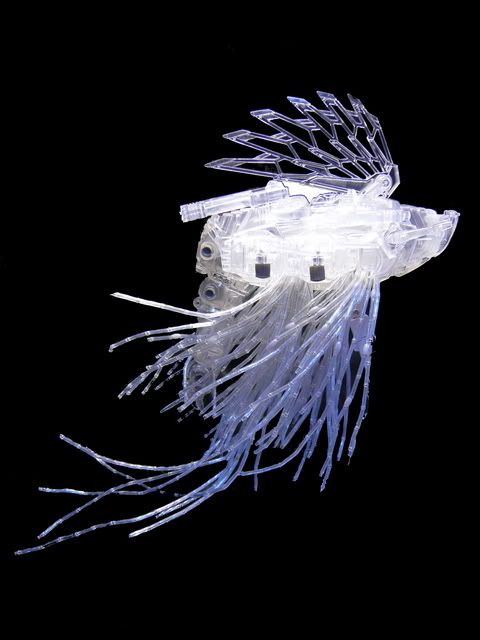
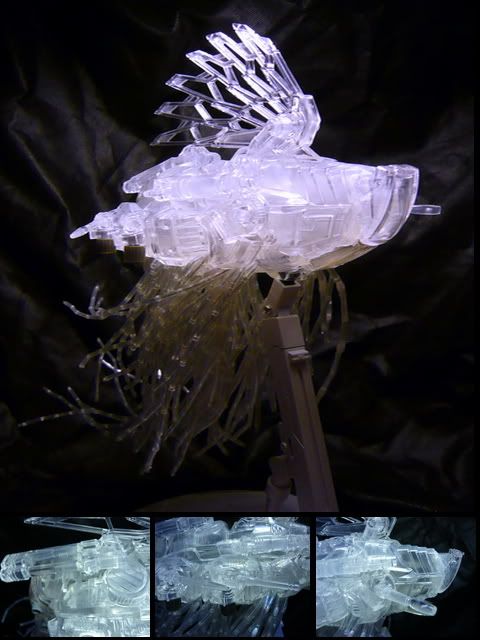
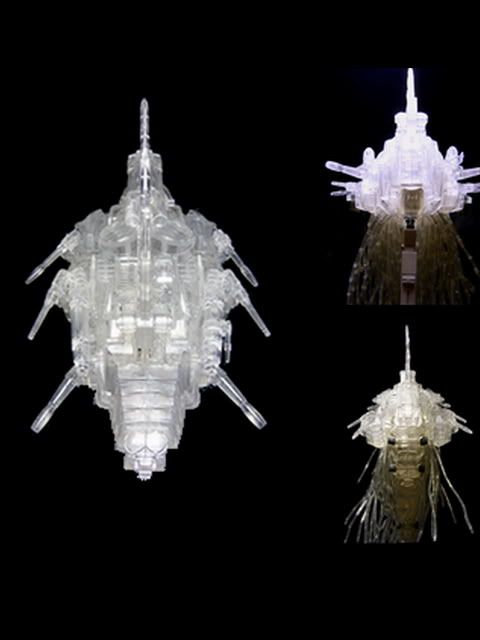
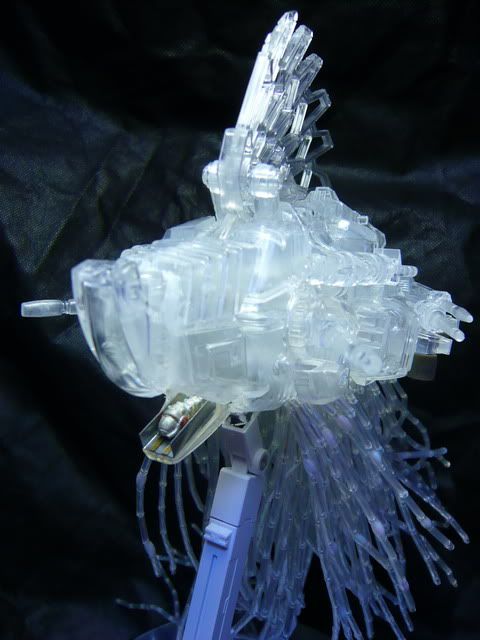
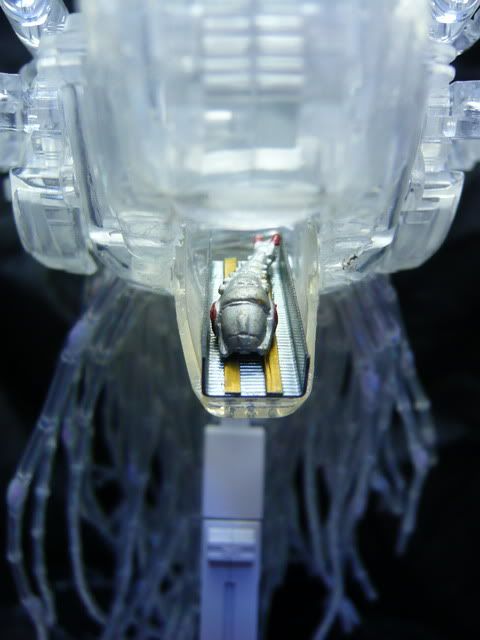
And this is it....
Relatively lesser effort than my previous custom but was able to achieve the effect that I wanted :) If I can turn back time and redo this, I will add less tentacle and keep within the silhouette. I find the tentacle positioned too far in-front thus making the main body look short and lost the appearance of a buoyancy ballast compartment look. Overall it was great fun and the end result was worth the cost :)

In the end I spent another $30 buck to get a LED stripe that can change 7 colors to make my display look like those jellyfish tube in the aquarium :D

无: Work In Progress Part II - Construction  

0 comments

Once I'm happy with the placement, the fusion starts...

First I have to make the red horn feet merge with the body. This is done by slicing off the exhaust vent and leveling of the surrounding area by filing.

Now they flow with the bodyline nicely:)

But the hole for the original fore leg still remain... I tried using a transparent spoon to make the circular cover...

The result didnt turn out as what I expected because the spoon is not in a perfect dome... it is slightly elongated and the final outlook seems like an eyelid...so it was aborted...

After I stick the feet onto the body, I found that the feet joint is prefect for making a turrent mounting :D

Weeee

With the turret built using the existing guns from red horn, I realised that there is a break in the bodyline from the top view. Right infront of the first feet...


So again, I tried to find a solution from the leftover parts and managed to come up with this:

Each cannon will be place right onto of the gap in the bodyline to create a continuous impression.

Tuesday, January 26, 2010

无: Work In Progress Part I - Reference and Concept  

0 comments

I have always been fascinated by the transparency of the jellyfish and how it look so unreal and yet so alive with it fluid movement at the same time... So I decided to make a custom based on this same inspiration... Alas, the idea of Man-Of-War pop up... though not a jellyfish, its still nearly as transparent as one.

Thus after some surfing, i found the silhouette of my custom:

Next comes my headache.... how do I make it transparent and leave no marks on it after modification... And it hit me, I can mold them using clear resin.

Unfortunately when I found my resin and latex... they were all dried up due to my poor maintenance...I have to think of something fast...Thank god for having our community's most resourceful fan here in Singapore, Philip aka APM, I got a bundle of built stuff from him earlier and in one of the goodies bag... I found a built Crystal Red horn and a Crystal molga. Since this is my last resort, I took it upon myself to make the custom using only these...this is the most challenging task to date... to make a custom using only limit model. To make it worst... I must not use any putty or leave any visible modification mark on the final custom since its transparent....

I feel that the most important part of the Man-Of-War is its tentacles... After keeping an eye out for anything transparent, I found this...

Cost me a few red notes to get a tub of them. The wire is only $2 tho... more about this later.

Next comes the main body. Since these Zoids are rare and expensive, I decided to try out my design on the built regular issued Zoids that I have.

I initially wanted to use the Gojulas HT's back fin... but they look too short and stompy.. Heres another arrangement of the buster eagle fin.

In the end... I chose none from the above... I gave in to the Capitalism... the cost of the Zoids will simply be too much... I have to only temporally borrowed a wing from the Crystal buster eagle...the holes on the sides irks me some tho...

So the design of the top fin of the Man-Of-War must be removable...And notice the holes are now covered up by the feet of red horn? Hehee, they are now the extra compartment of the ballast chambers.

To be continue...

Zoidspoison Customization Contest (ZPCC) 2010 Entry  

0 comments

Category: Sci-Fi, Mecha, Zoids
Scale: 1/700
Modification: Kit-bash from 3 Zoids models.

Type: Man-of-War
Class: Landing craft carrier

Synopsis
Modeled after the infamous Portuguese Man-of-War (aka Blue bottle, Medusa), this Zoids is a huge carrier class Zoids capable of transport small to medium sized Zoids across the battlefield. With it 99% HoloTech (HT)capability, there is almost nothing to be seen, thus its been named 无(Wu) or nothingness.
This carrier class Zoids is truly one of its kind. Its large landing craft body is not only able to float in the air and water depending on the molecule mixture loaded into its ballast, it can also be totally submerged into water.
Look at those firepower mounted all around itself....Try to see if you can...
Because not even the most sophisticated sensor system can pick up them...
New advancements in energy R&D were implemented into the power module to enable the full time employment of the HT ability.
Making it almost impossible to be detected by even its own army...if not for the mechanical cap at the base of its side mounted turrets and its tail.
Shown here is the opened bay door during Zoids deployment. This is the only time the HT will be partially disabled.
Cannot find where it is? Lets zoom in a little...


Just gotta recreate an aquarium experience that inspired me here...


Catch the WIP here...

Visitor No: